
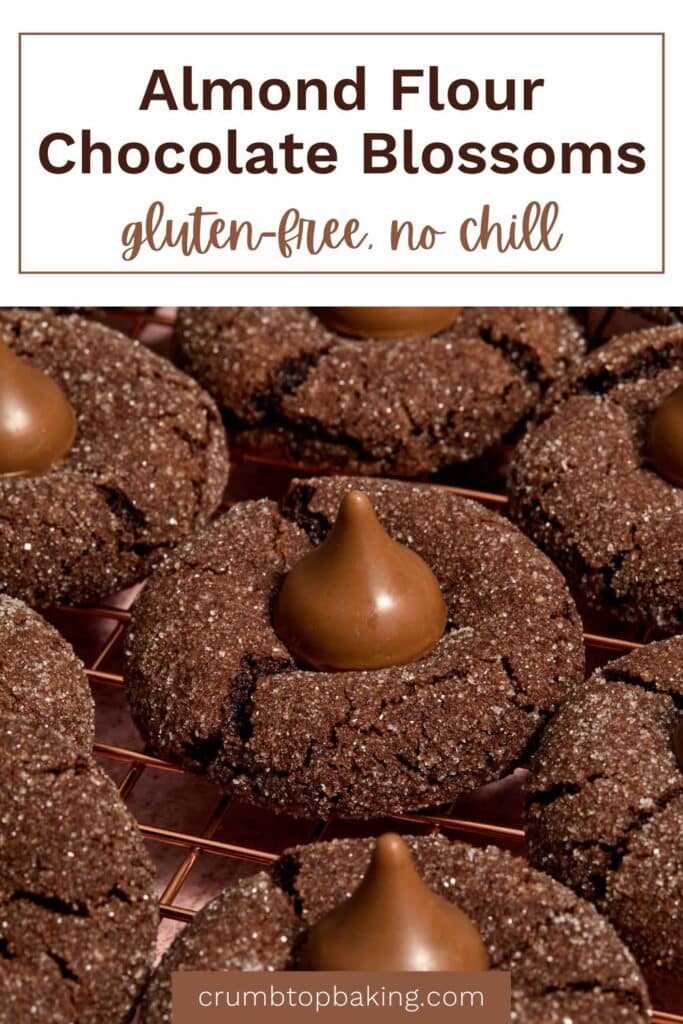

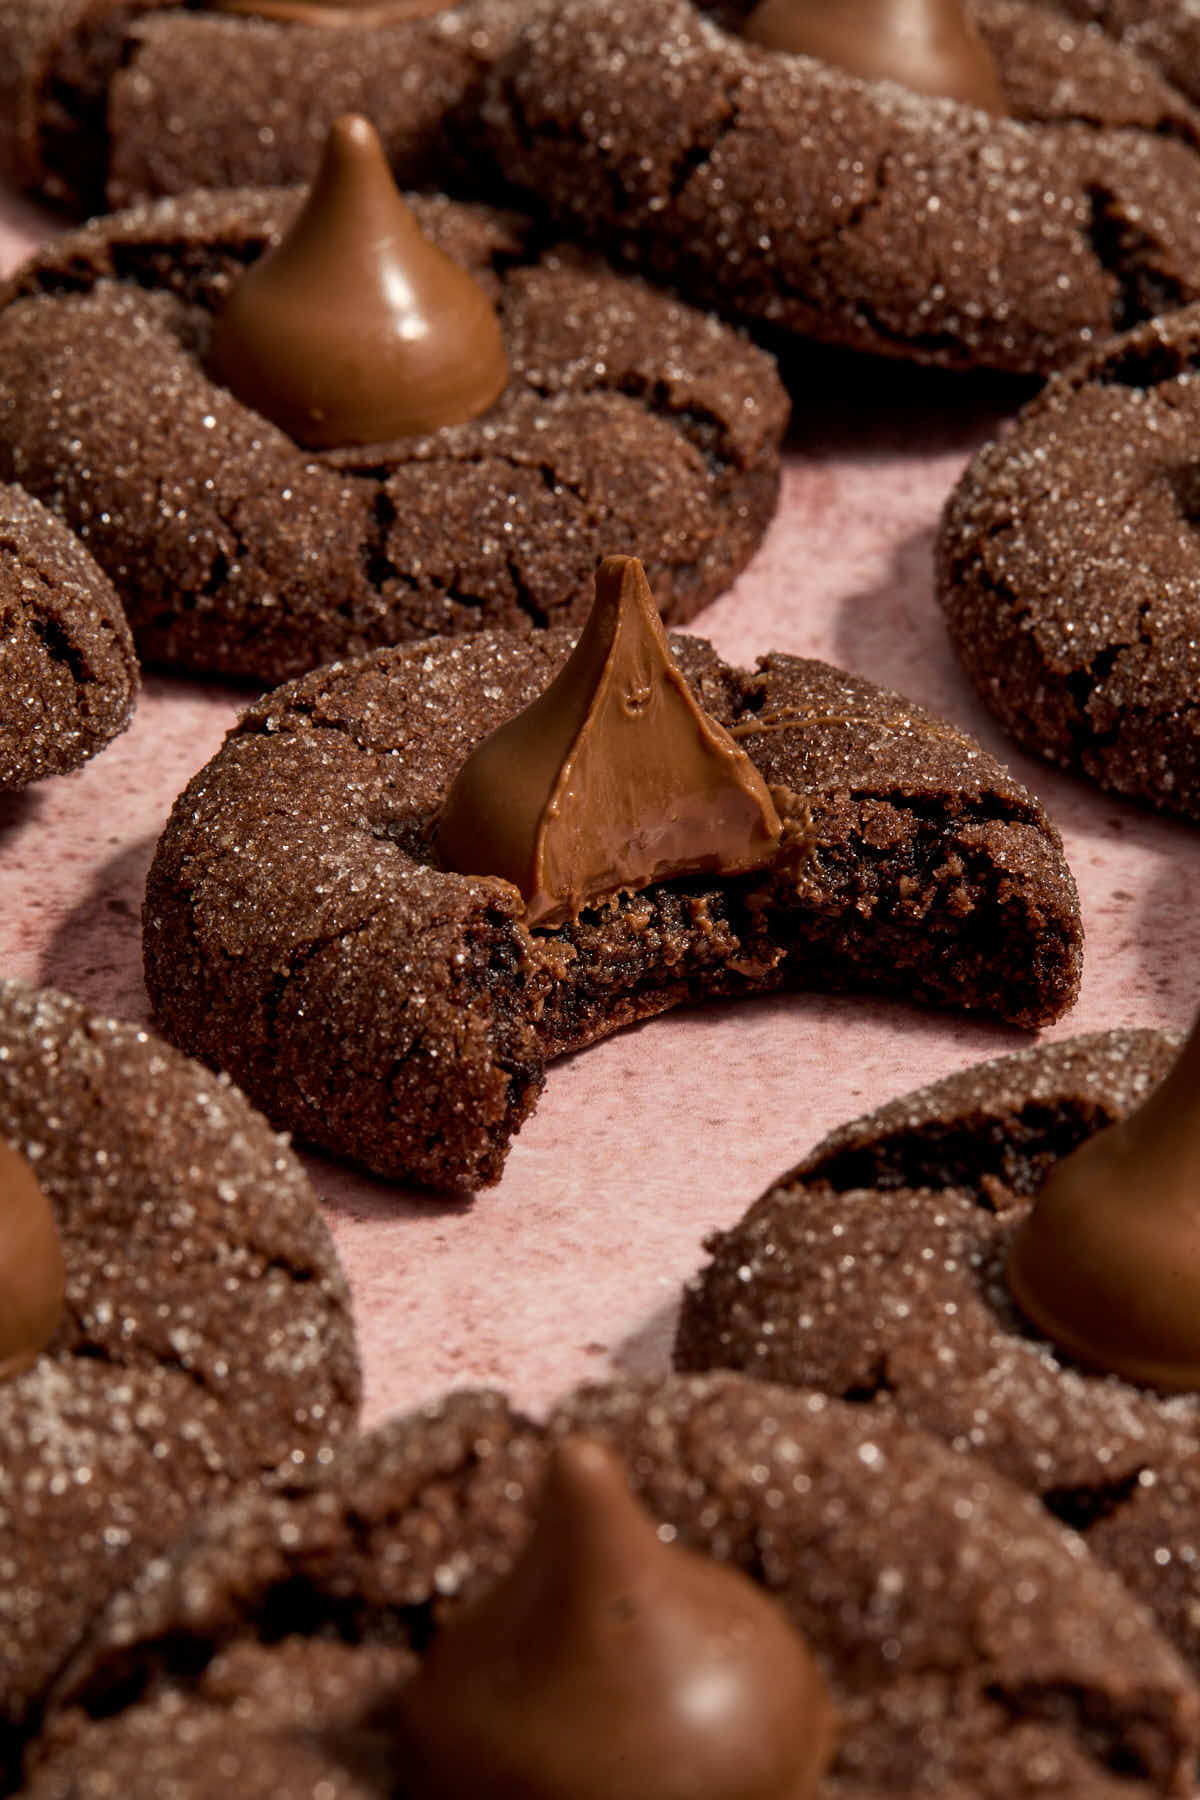
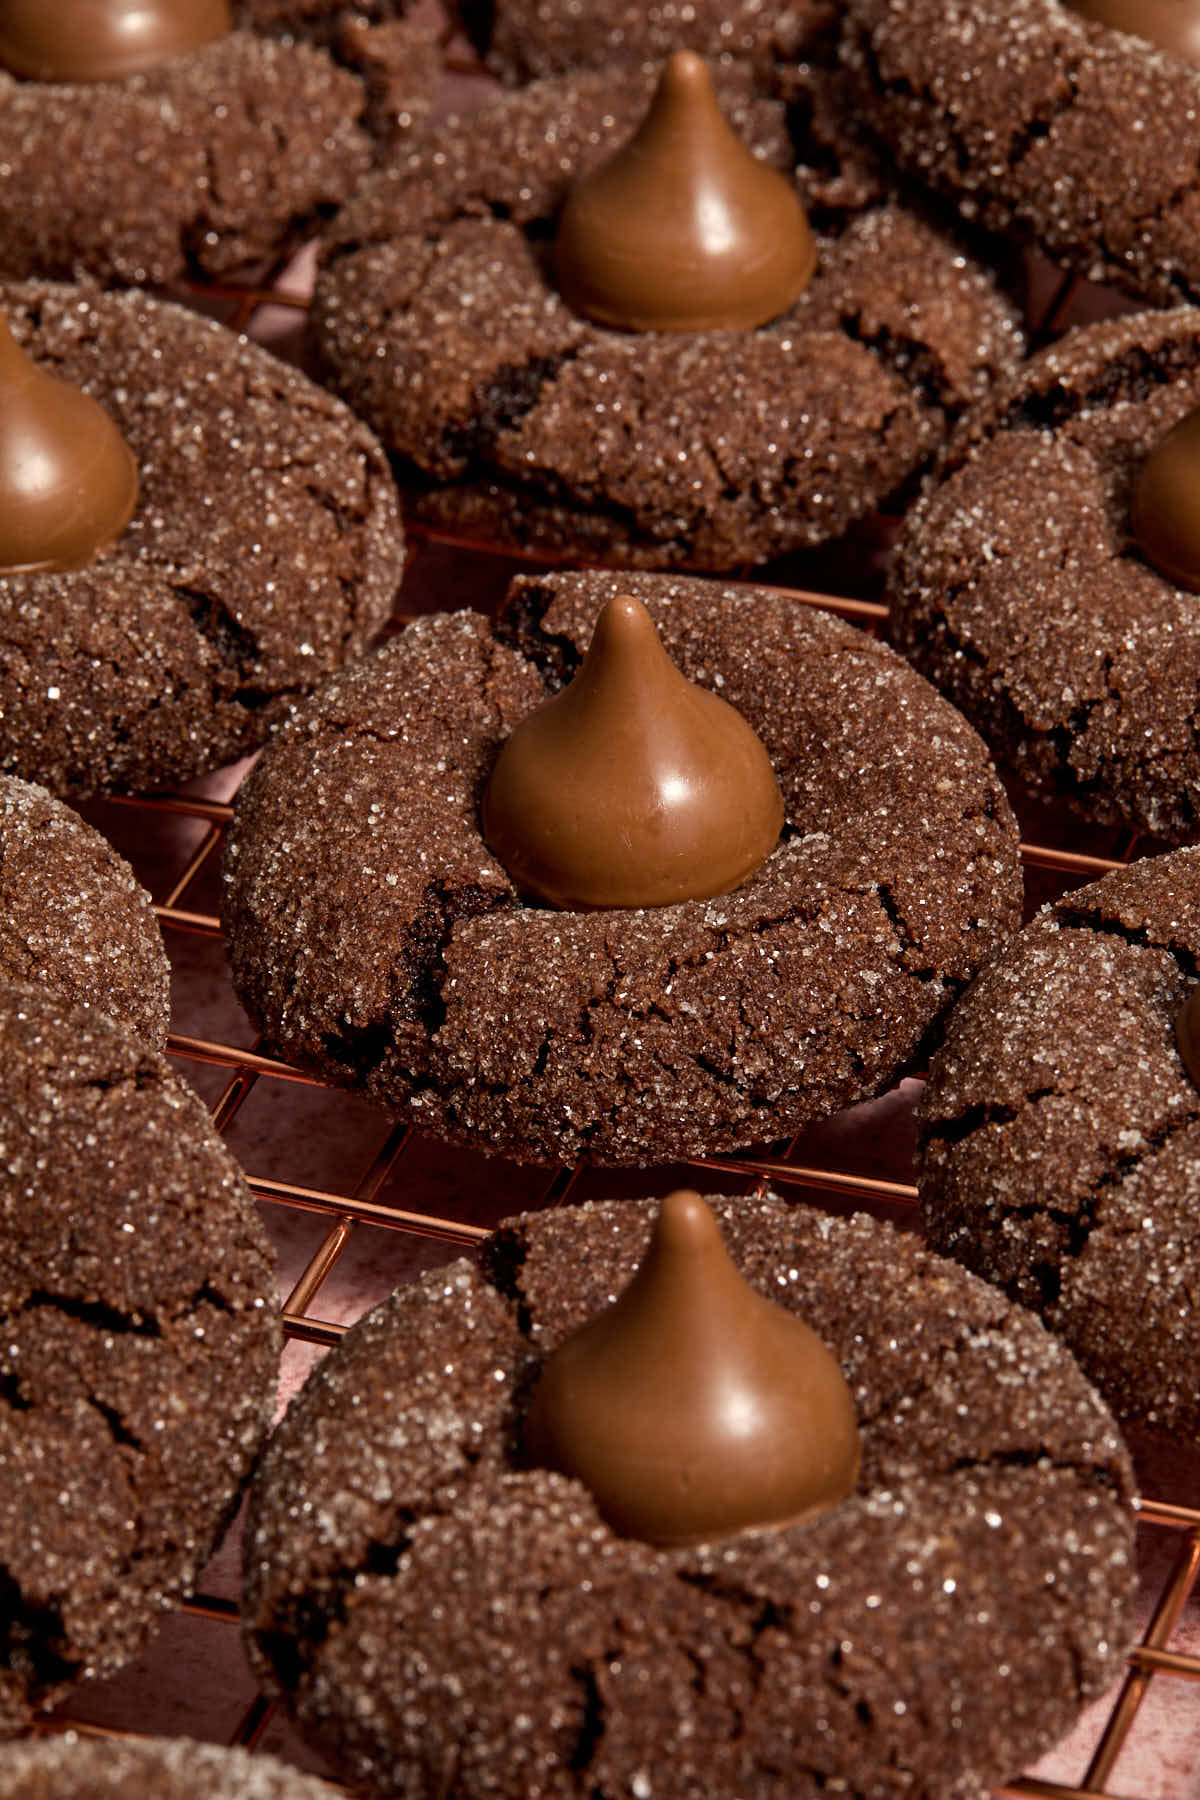
These Almond Flour Chocolate Blossom Cookies are ridiculously delicious, decadent and so easy to make! They have a crisp sugar coating with a soft and chewy center and a milk chocolate kiss on top. The rich chocolate cookie dough is made richer by adding a little espresso powder which intensifies the chocolate flavor. These cookies are naturally gluten-free made with no other specialty flours, just almond flour and a little cornstarch to help keep them puffy. The best part is that these blossom cookies are no chill so you can have a batch ready in less than 30 minutes!
Want to save this recipe for later?
Table of Contents
This recipe is a combination of my almond flour peanut butter blossoms and my almond flour chocolate crinkle cookies. You get the rich and fudgy texture of a chocolate crinkle cookie, along with the signature chocolate kiss of a blossom cookie!
Key ingredients and substitutions
Below are just a few of the key ingredients and some notes on substitutions. Scroll to the bottom for the full recipe.
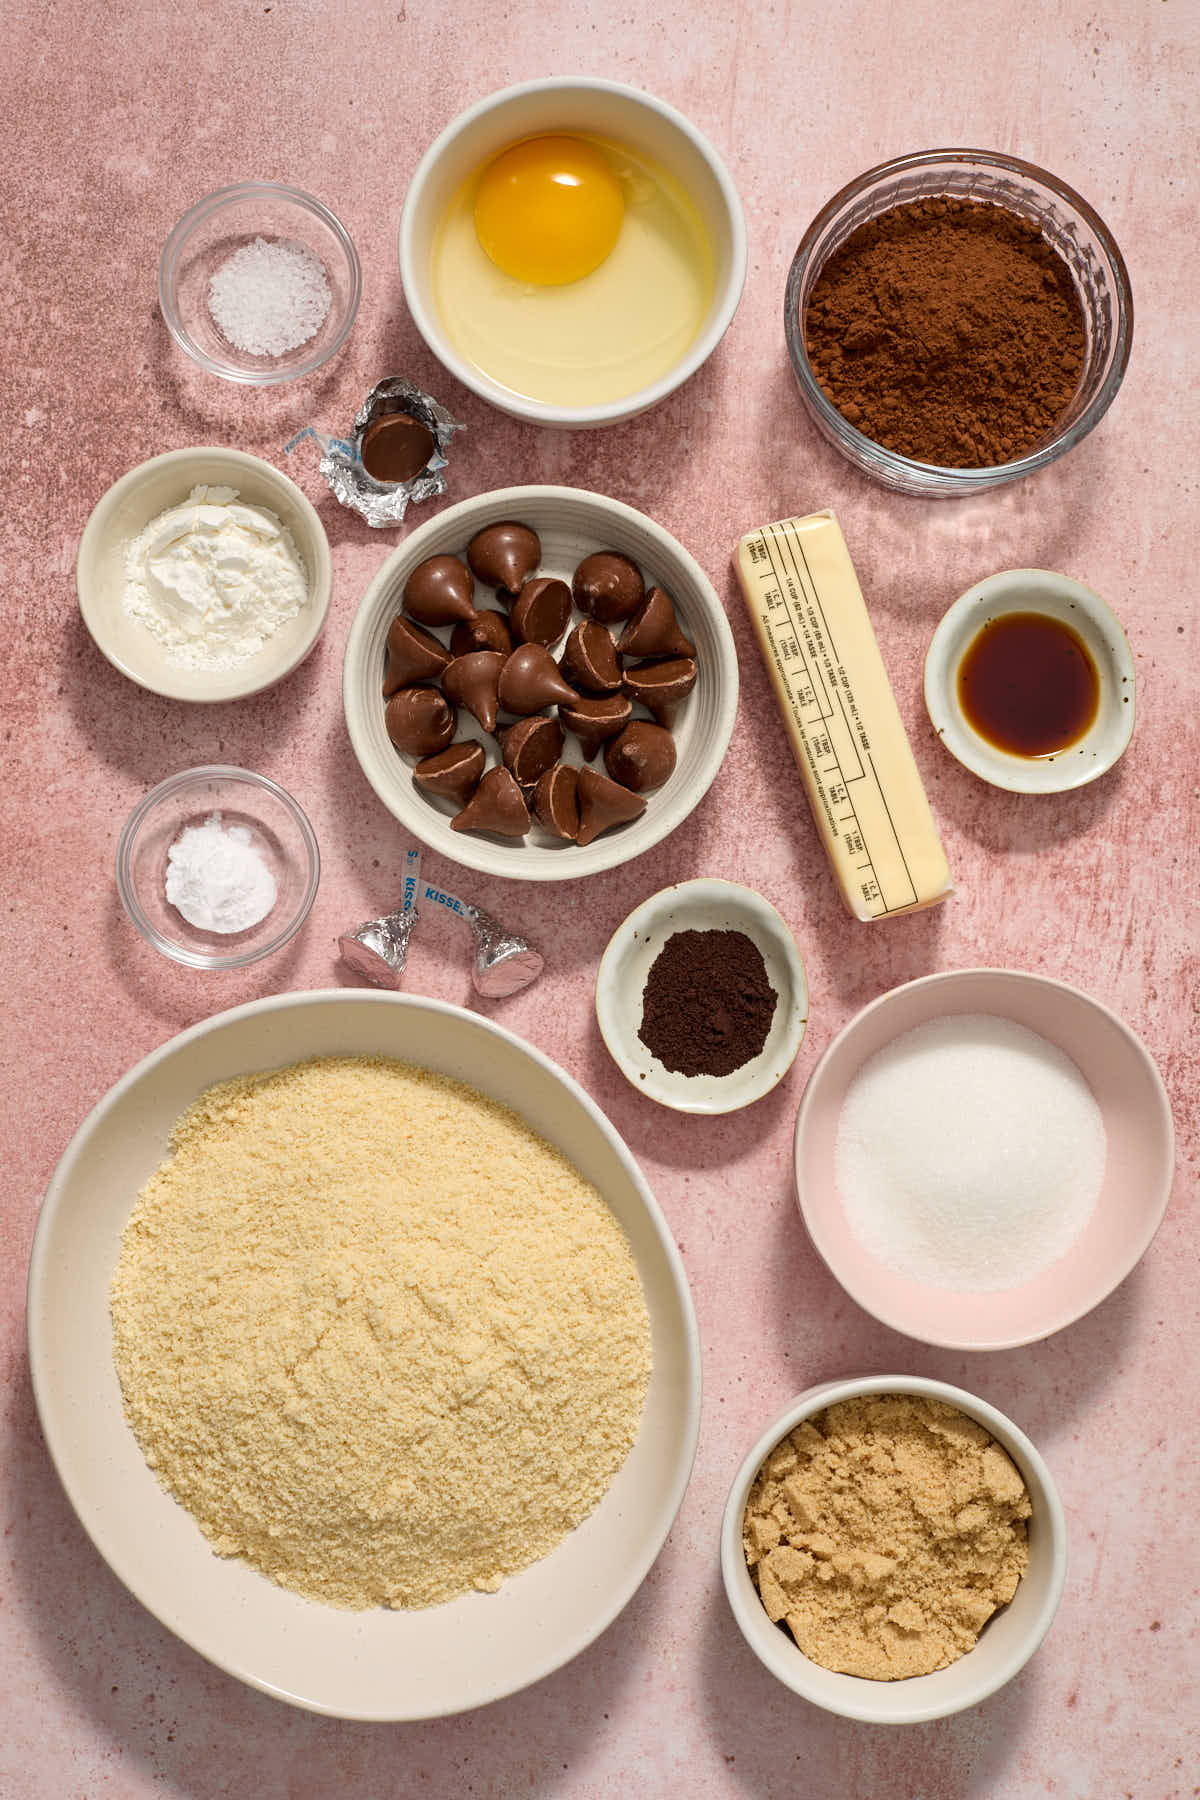
- Almond flour - I always use fine blanched almond flour when making cookies. I don't recommend substituting with almond meal as it has a coarser texture.
- Cocoa - I use Dutch-processed cocoa for a lot of recipes as I love the rich chocolate flavor. I haven't tested these cookies with natural cocoa.
- Espresso powder - To enhance the rich chocolate flavor, the recipe calls for 1 teaspoon of espresso powder. You can leave it out if you wish, but I highly recommend it!
- Cornstarch - I don't recommend leaving out the cornstarch. While it's just a tablespoon, it helps the cookies stay thick and puffy.
- Chocolate kisses - This is the signature topping on blossom cookies. I used milk chocolate Hershey's kisses here but other varieties would work too.
How to make chocolate blossoms with almond flour
Since these blossom cookies require zero chilling time, they come together quickly! Below is a short step-by-step with photos.

Notes on measuring ingredients
For convenience, US cup measurements are included in the recipe card for this recipe. To ensure greater accuracy, however, weight and volume measurements are also provided. So, if you see grams (g), you'll want to use a kitchen scale to weigh your ingredients, and if you see milliliters (ml), you'll want to use a liquid measuring cup. Smaller quantities of ingredients are provided in teaspoons and tablespoons.
Tips for making the best blossom cookies
- Creaming butter and sugars. Make sure you cream them together for a good 3-5 minutes so the mixture is light and fluffy. This adds air to the batter and helps keep the cookies thick and puffy.
- Avoid overbaking. It's better to underbake these cookies so the centers stay soft and chewy. If you overbake them, they will end up dry and extra chewy.
- Light colored sheet pans. I always use light colored pans to bake cookies as darker pans will brown the bottoms of the cookies quicker and they could end up burning a bit.
- Unwrap all of the chocolate kisses. Before you get started, unwrap the kisses so they're good to go when the cookies come out of the oven. If you wait too long to press them in, the cookies will firm up and the kisses won't stick.
Chocolate blossom cookies FAQs
These cookies maintain the best texture if stored in an airtight container at room temperature. They will stay fresh for 3-4 days. To freeze, wait for the cookies to completely cool, then place them in a freezer safe container. They'll keep for up to a month in the freezer.
Yes! While this cookie dough doesn't require chilling, you can store it in the fridge for up to 2 days. I recommend using a cookie scoop to portion out the dough onto a plate or tray and store covered in the fridge. When you're ready to bake, just roll into balls and then in the sugar and bake. You may need to add another 1-2 minutes to the bake time.
Rolling the cookies in sugar isn't essential, but I like the crispy coating it adds. I tested this recipe with sprinkles, and both nonpareils and jimmies worked. Just note that the cookies spread a bit more and stick a little to the parchment paper. Also, the type of sprinkles you use matters. I did a test with some shimmery nonpareils I had in the pantry and they just melted all over the cookies.
Let the cookies rest for a minute or two after they come out of the oven before pressing the chocolate kisses into them. Don't wait too long as the chocolates stick best onto a warm cookie. Once the chocolates are in place, you can also transfer the cookies to a plate or tray and place them in the freezer for a few minutes.
More almond flour cookie recipes
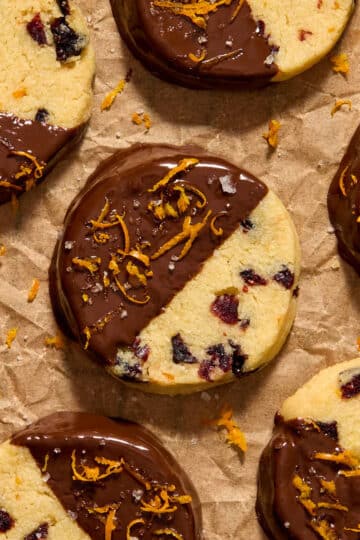
- Almond Flour Cranberry Orange Icebox Cookies
- Almond Flour Snickerdoodle Cookies
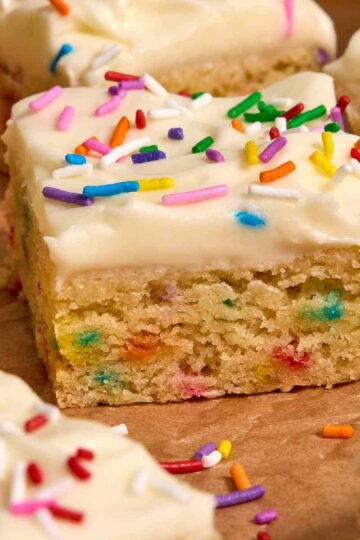
- Almond Flour Sugar Cookies (no chill, 8 ingredients!)
- Almond Flour Oatmeal Butterscotch Cookies
If you make this recipe, I'd love to hear what you think in the comments below!
HUNGRY FOR MORE? Sign up for our newsletter and follow Crumb Top Baking on Instagram, Pinterest and Facebook!
📖 Recipe

Almond Flour Chocolate Blossom Cookies (No Chill!)
Ingredients
- 1 ¾ cups (182 g) fine blanched almond flour
- 7 tablespoons (42 g) Dutch-processed cocoa
- 1 tablespoon cornstarch
- 1 teaspoon espresso powder
- ½ teaspoon baking soda
- ¼ teaspoon fine sea salt
- ½ cup (113 g) unsalted butter, room temperature
- ½ cup (115 g) packed light brown sugar
- ¼ cup (55 g) granulated sugar, plus 3 tablespoons for rolling
- 1 large egg, room temperature
- 1 teaspoon vanilla extract
- 18 milk chocolate kisses, unwrapped
Instructions
- Preheat oven to 350F and line 2 large baking sheets with parchment paper.
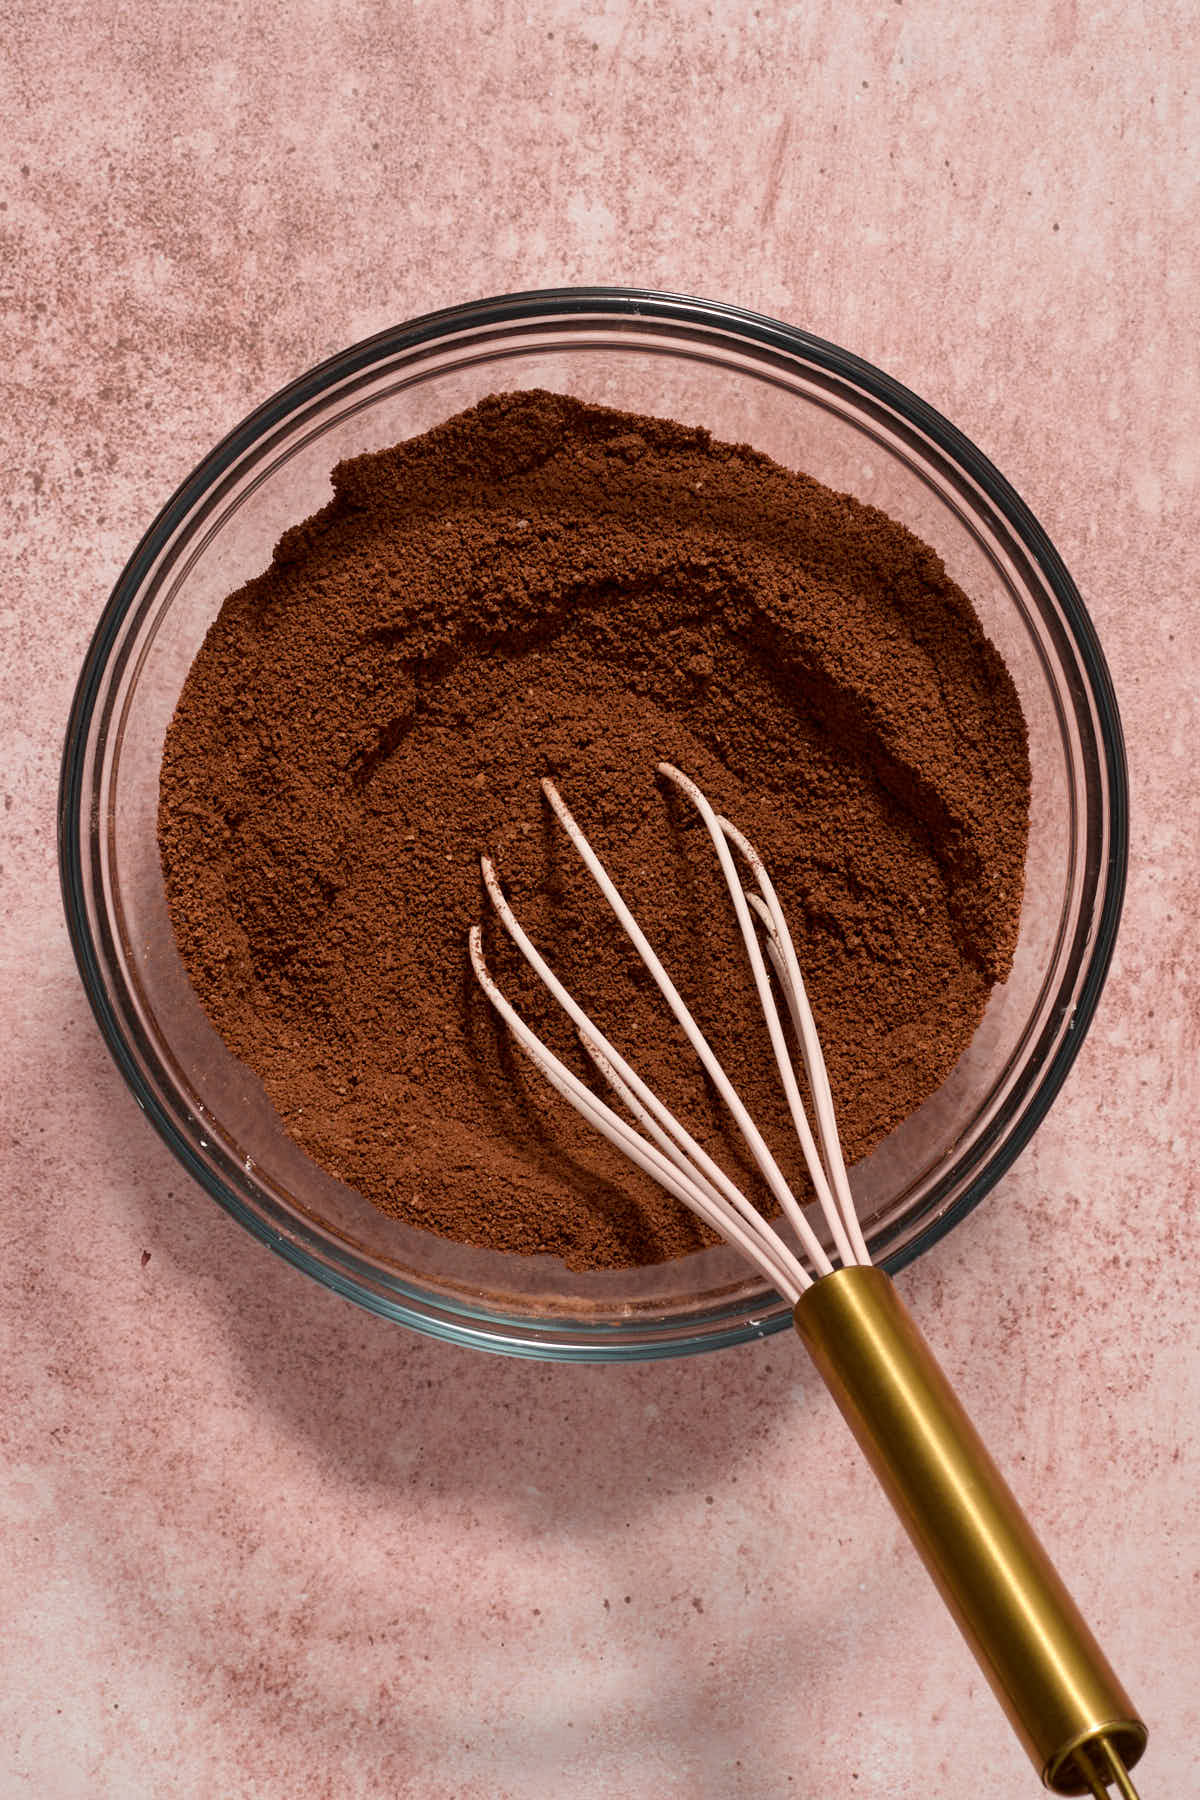
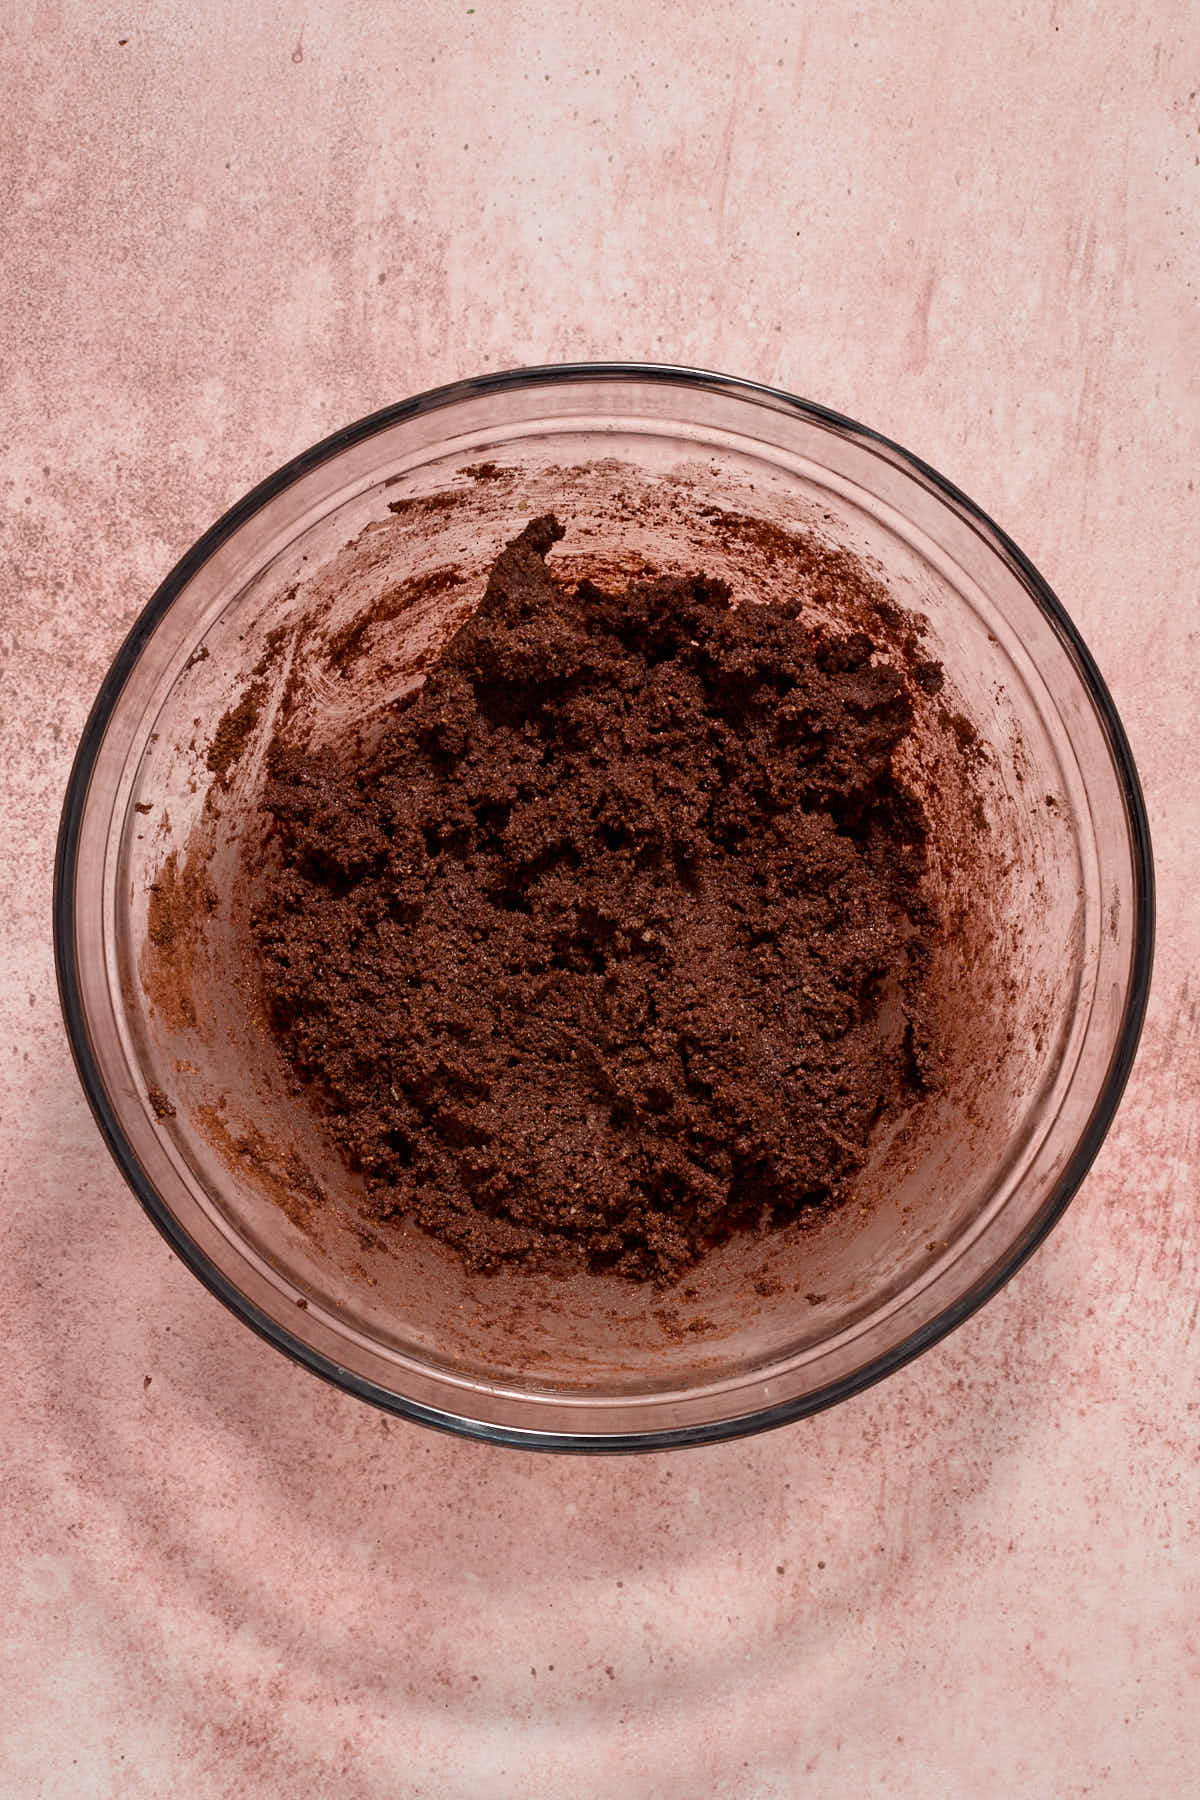
- In a medium-sized bowl, whisk together the almond flour, cocoa, cornstarch, espresso powder, baking soda and salt.
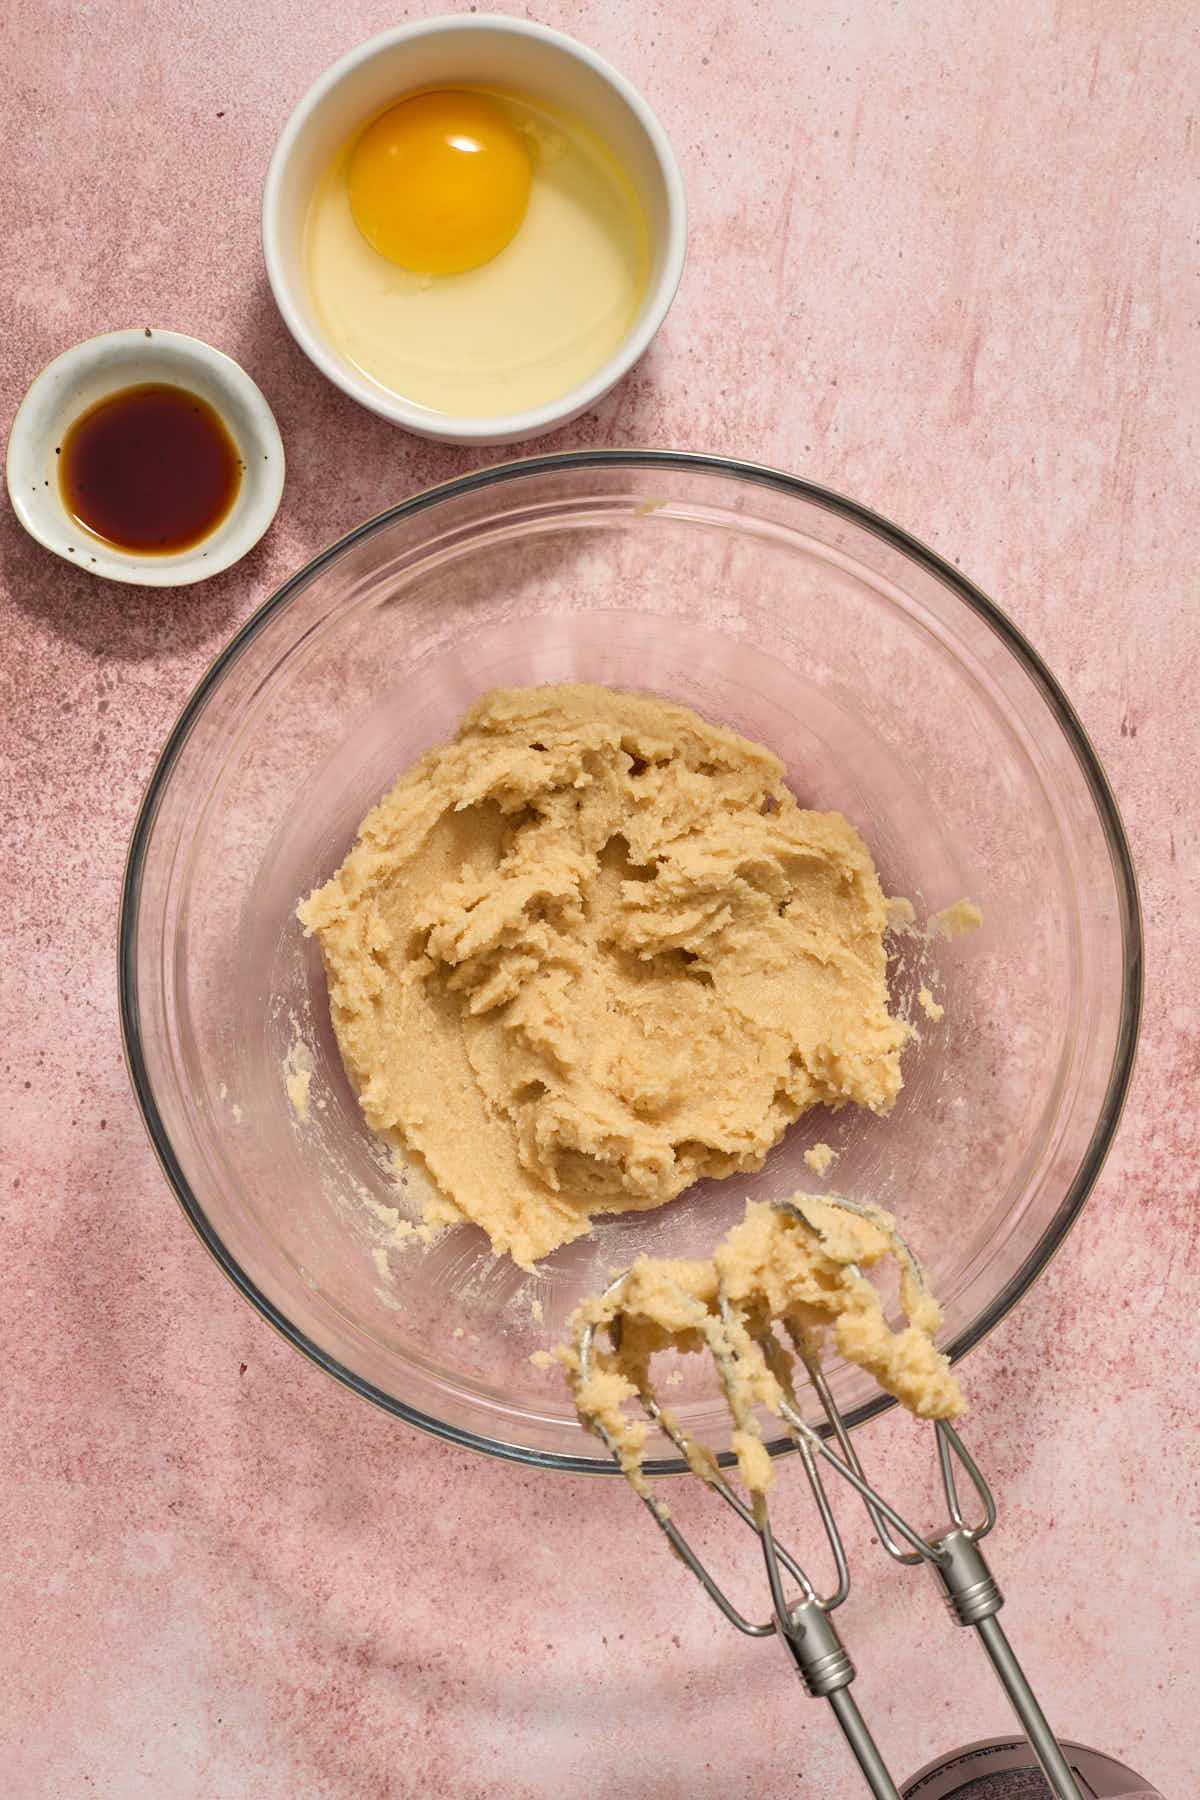
- In a large mixing bowl, use an electric mixer to cream together the butter, brown sugar and granulated sugar until light and fluffy. This will take about 3-5 minutes. Stop to scrape down the sides of the bowl as necessary.
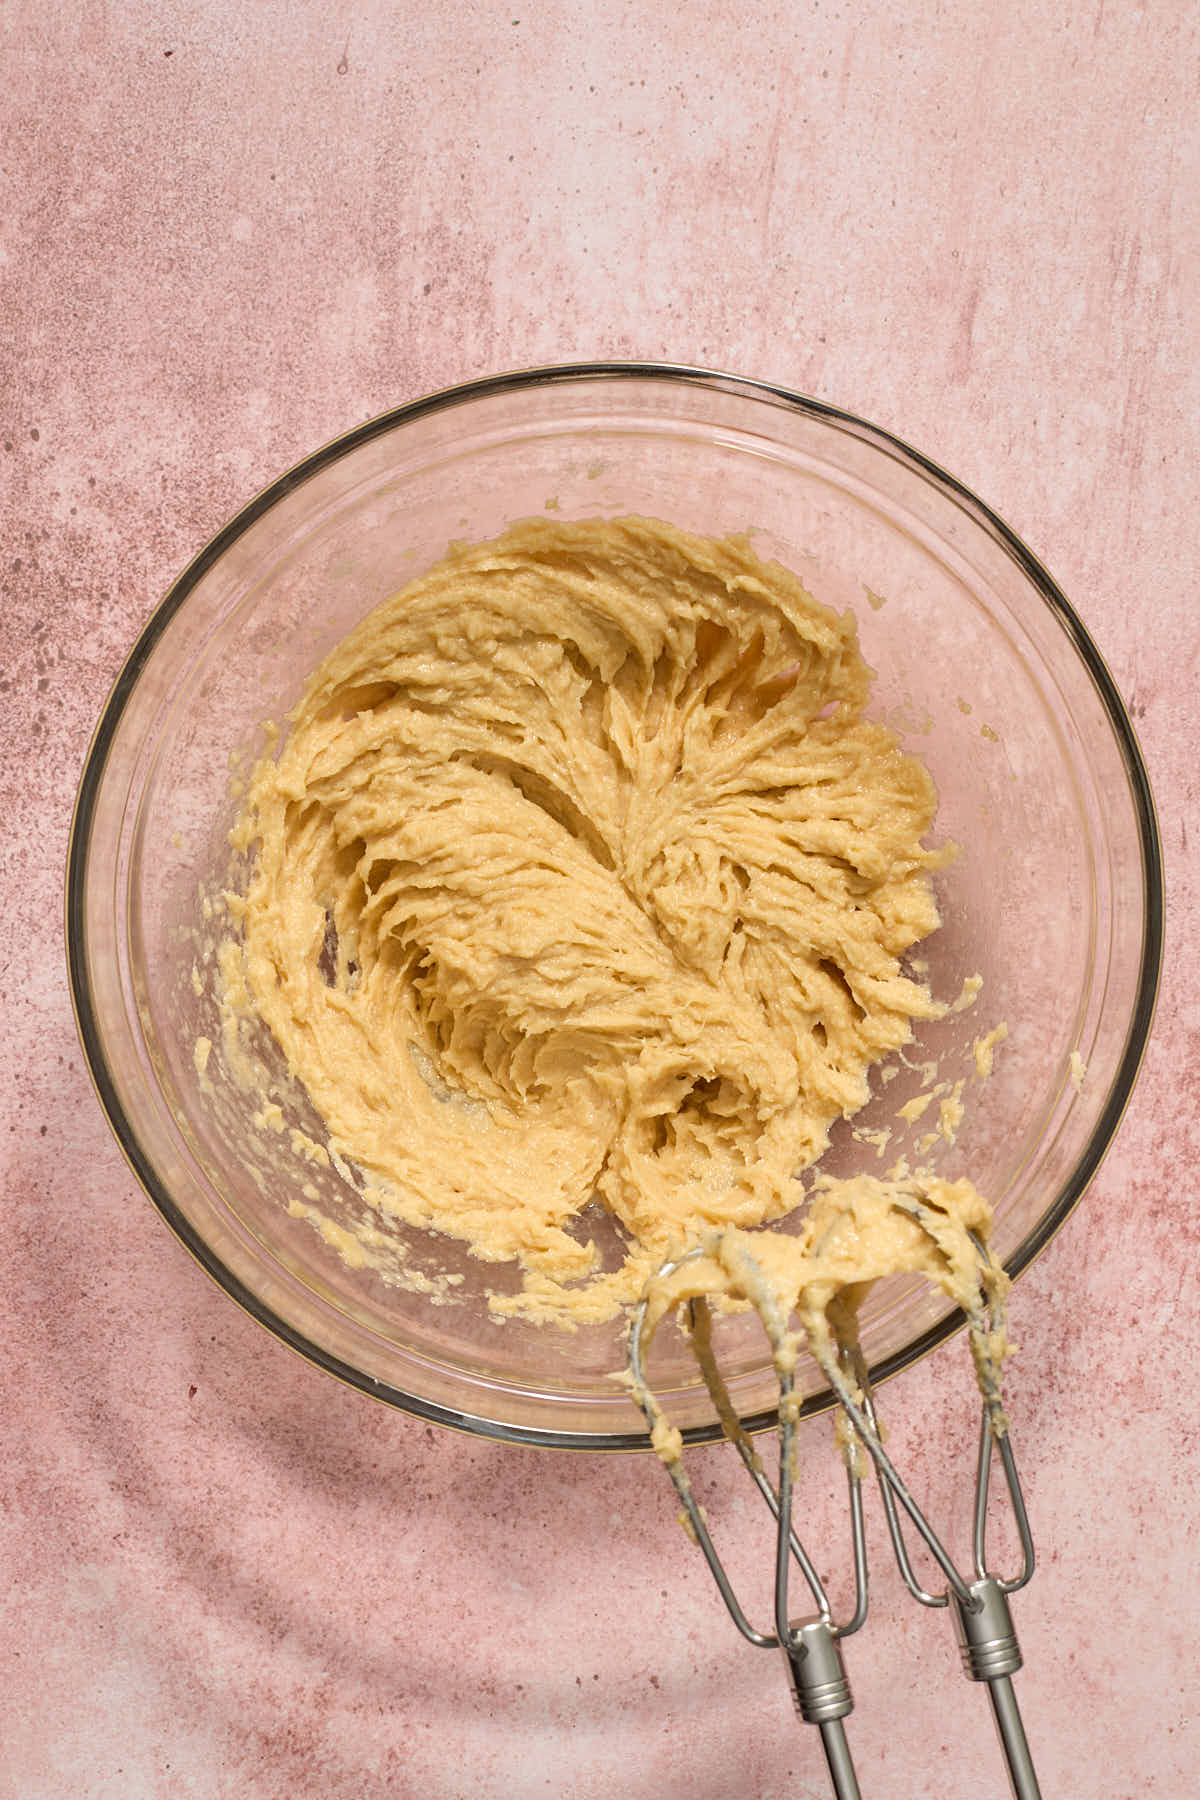
- Add the egg and vanilla and beat until well combined.
- On low speed, gradually add the dry ingredients to the wet mixture until just combined.
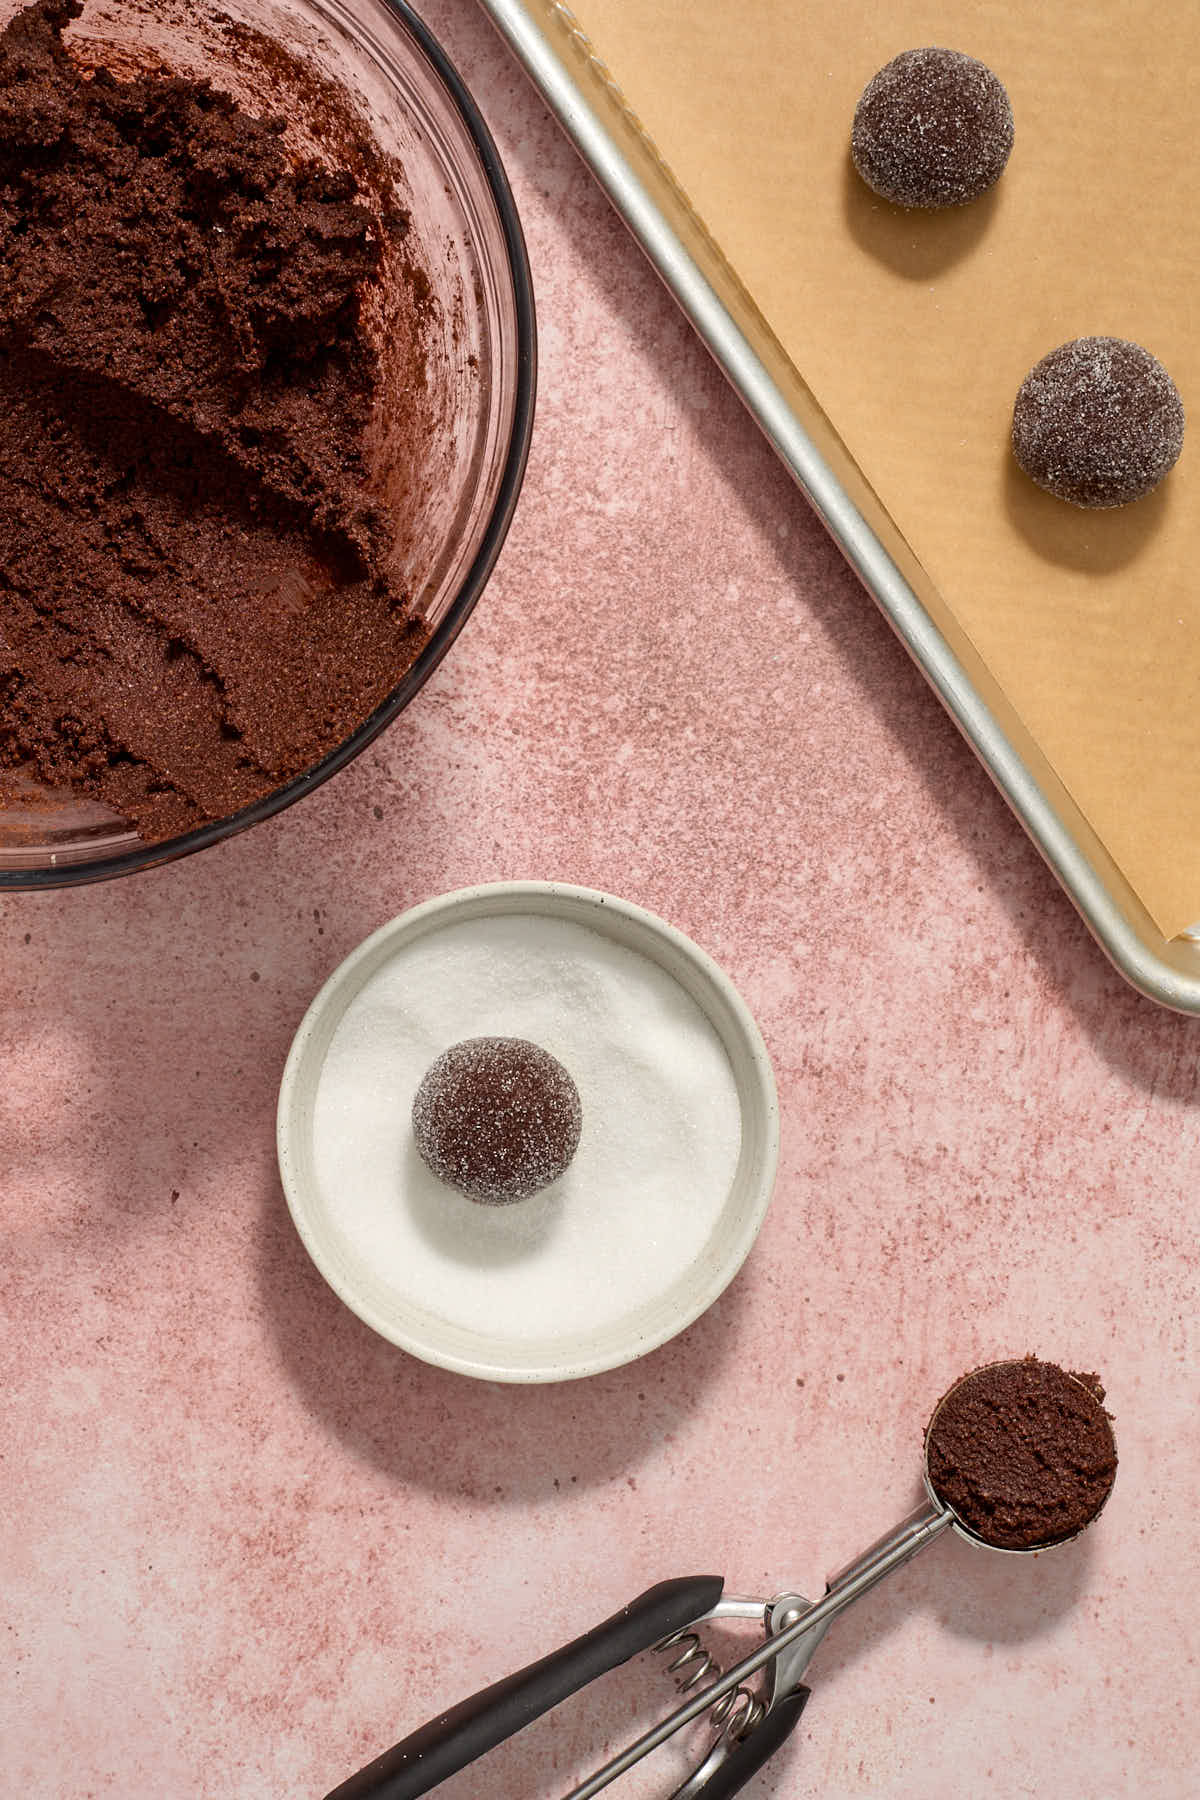
- Place the remaining 3 tablespoons of granulated sugar in a small bowl. Use a 1.5 tablespoon cookie scoop to portion out the cookie dough and roll into balls. Roll each ball in the granulated sugar.
- Arrange the cookie dough balls on the prepared baking sheets, about 2 inches apart. (I usually bake 9 per pan).
- Bake 9-11 minutes, or until the cookies are puffed up and set around the edges. (If you let them spread too much, they will be overbaked).
- Press a chocolate kiss into the top of each cookie. Let rest on the pan for 10 minutes and then transfer to a wire rack to cool completely.
- This is optional, but to stop the chocolates from melting on top of the cookies, instead of resting them on the pan, I transfer the cookies to a plate and place them in the freezer for a few minutes.
Notes
- Make sure you cream the butter and sugars together for a good 3-5 minutes so the mixture is light and fluffy. This adds air to the batter and helps keep the cookies thick and puffy.
- It's better to underbake these cookies so the centers stay soft and chewy. If you overbake them, they will end up dry and extra chewy.
- I always use light colored pans to bake cookies as darker pans will brown the bottoms of the cookies quicker and they could end up burning.
- Before you get started, unwrap the kisses so they're good to go when the cookies come out of the oven. If you wait too long to press them in, the cookies will firm up and the chocolates won't stick.
Want to save this recipe for later?
Nutrition Facts per Serving
Disclaimer
Nutrition information is an estimate only and will vary depending on the substitutions made and the brands used.
Did you make this recipe or have any questions?
I love reading your comments and addressing your questions, so please leave your comments and ratings or questions below!

Carolyn Trumello says
OMG…these cookies are DELICIOUS!!! I made them keto by using Swerve brown and Bocha Sweet granular for the sugars, but otherwise the same. I’m always looking for almond flour bakes, since we’re all trying to kick as many carbs as possible in our household. Chocolatey and yummy. I didn’t this go round, but next time I will put peanut butter chips in, since I love CPB ch cookies. This recipe has inspired me to try some of the other almond flour bakes from here! Thank you so much!!
Leanne says
Hi Carolyn! I'm so happy to hear this and so glad you enjoyed the cookies. Thank you for sharing your sugar substitutes and adding peanut butter chips next time sounds delicious! Let me know how it goes and if you try any other almond flour recipes from my site. I have a few different cookie recipes with peanut butter that you might love!