

These Almond Flour Cherry Pie Bars with a gluten-free buttery crust and homemade cherry pie filling are absolutely irresistible! The crust and topping are made from the same recipe and it comes together in just one bowl. You'll love the base of the bars with its shortbread texture and the buttery, crumbly topping just melts in your mouth. Sandwiched between these two layers is an easy cherry pie filling, made with fresh sweet cherries and a hint of almond extract. It's all finished with a simple powdered sugar glaze!

Want to save this recipe for later?
Table of Contents
If you love these cherry bars, you'll also want to try these Almond Flour Peach Crisp Bars with homemade peach feeling and an oat crumble topping!
Why you'll love these cherry bars
There are so many reasons why I love these bars! First, we're using melted butter in the crust and topping, which is so much easier than spending time cutting in cold butter. Second, the homemade cherry filling comes together quickly and tastes so much better than canned filling. Third, since the filling cooks quickly while the crust is baking, once assembled, these bars bake up in just 15 minutes. The hardest part is waiting for them to cool in order to cut into them!
Ingredients and substitutions
Below is a brief overview of some of the ingredients and recommended substitutions. The recipe card at the end of this post includes the full list and exact quantities used.

- Almond flour - I always find it best to use fine blanched almond flour for dessert recipes. It just has a finer texture than almond meal.
- Cherries - We're using fresh dark sweet cherries for the filling. If you decide to use sour cherries, you'll need to add a little extra sugar to compensate for the tartness.
- Butter - Unsalted melted butter helps bind all of the dry ingredients together and creates a buttery shortbread texture. If you use salted butter be sure to omit the added salt in the recipe.
- Cornstarch - This helps keep the pie crust tender and the topping crisp.
- Coconut flour - The combination of almond flour and melted butter can be quite wet and oily, so adding coconut flour helps absorb some excess moisture and oil.
How to make fresh cherry pie bars with almond flour
Below is a brief overview of the steps to make this recipe along with photos. For further details, please see the recipe card at the end of this post.


Measuring ingredients
For convenience, US cup measurements are included in the recipe card for this recipe. To ensure greater accuracy, however, weight and volume measurements are also provided. So, if you see grams (g), you'll want to use a kitchen scale to weigh your ingredients, and if you see milliliters (ml), you'll want to use a liquid measuring cup. Smaller quantities of ingredients are provided in teaspoons and tablespoons.
Storage
Once cut into squares, you'll want to keep these bars stored in an airtight container in the fridge. They should keep for 3-4 days. Almond flour has a lot of moisture so if you store the bars at room temperature, the jammy pie filling will soften the crisp topping and crust.
I don't recommend freezing these bars. In my experience, the texture of the base and topping doesn't hold up once the bars are thawed out.

Key recipe tips
- Chop the cherries into small pieces for the cherry pie filling. This will help the filling spread out more evenly onto the crust. (I also don't like biting into big chunks of cherries in my bars).
- I recommend lining your pan with overhanging parchment paper so it's easy to lift the cooled bars out and cut them into squares.
- Once the crust is pre-baked, let it cool and firm up before adding the warm cherry filling.
- You'll want to chill these bars before cutting into them. Almond flour baked goods are best when they've had a chance to firm up, and chilling these bars will help the crust and jammy filling set.
Recipe FAQs
Absolutely! Just make sure they're pitted and chopped into small pieces.
While I prefer a homemade cherry pie filling, you can use a canned filling in a pinch. Just note that canned filling will have other added ingredients and won't have quite the same flavor as the homemade filling in this recipe.
Yes, the crust needs to be baked first. This helps support the cherry pie filling. The topping also bakes up fast and would brown too much if the crust wasn't already baked.

More almond flour dessert recipes
- Cherry Almond Cake
- Cherry Galette with Almond Flour Crust
- Almond Flour Lemon Poppy Seed Cake
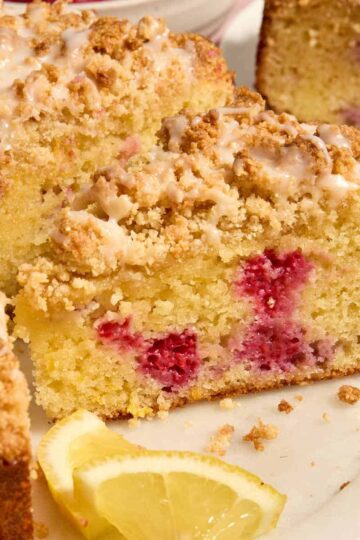
- Almond Flour Lemon Blueberry Bread
- Almond Flour Vanilla Cupcakes
If you make this recipe, I'd love to hear what you think in the comments below!
HUNGRY FOR MORE? Sign up for our newsletter and follow Crumb Top Baking on Instagram, Pinterest and Facebook!
📖 Recipe

Almond Flour Cherry Pie Bars
Ingredients
For the crust and topping:
- 2 ¼ cups (234 g) fine blanched almond flour
- ¼ cup (30 g) cornstarch
- ¼ cup (25 g) coconut flour
- ½ cup (110 g) granulated sugar
- ¼ cup (57 g) light brown sugar, packed
- 1 teaspoon baking powder
- ½ teaspoon fine sea salt
- 1 teaspoon vanilla extract
- ¾ cup (170 g) unsalted butter, melted
For the cherry filling:
- 3 cups (15 oz) fresh sweet cherries, pitted and chopped into pieces
- ½ cup (120 ml) water
- ⅓ cup (70 g) granulated sugar
- 2 ½ tablespoons cornstarch
- 1 tablespoon fresh lemon juice
- 1 teaspoon almond extract
For the glaze:
- ½ cup (60 g) powdered sugar, sifted if lumpy (plus more if necessary)
- 2-3 teaspoons milk, plant-based or dairy
Instructions
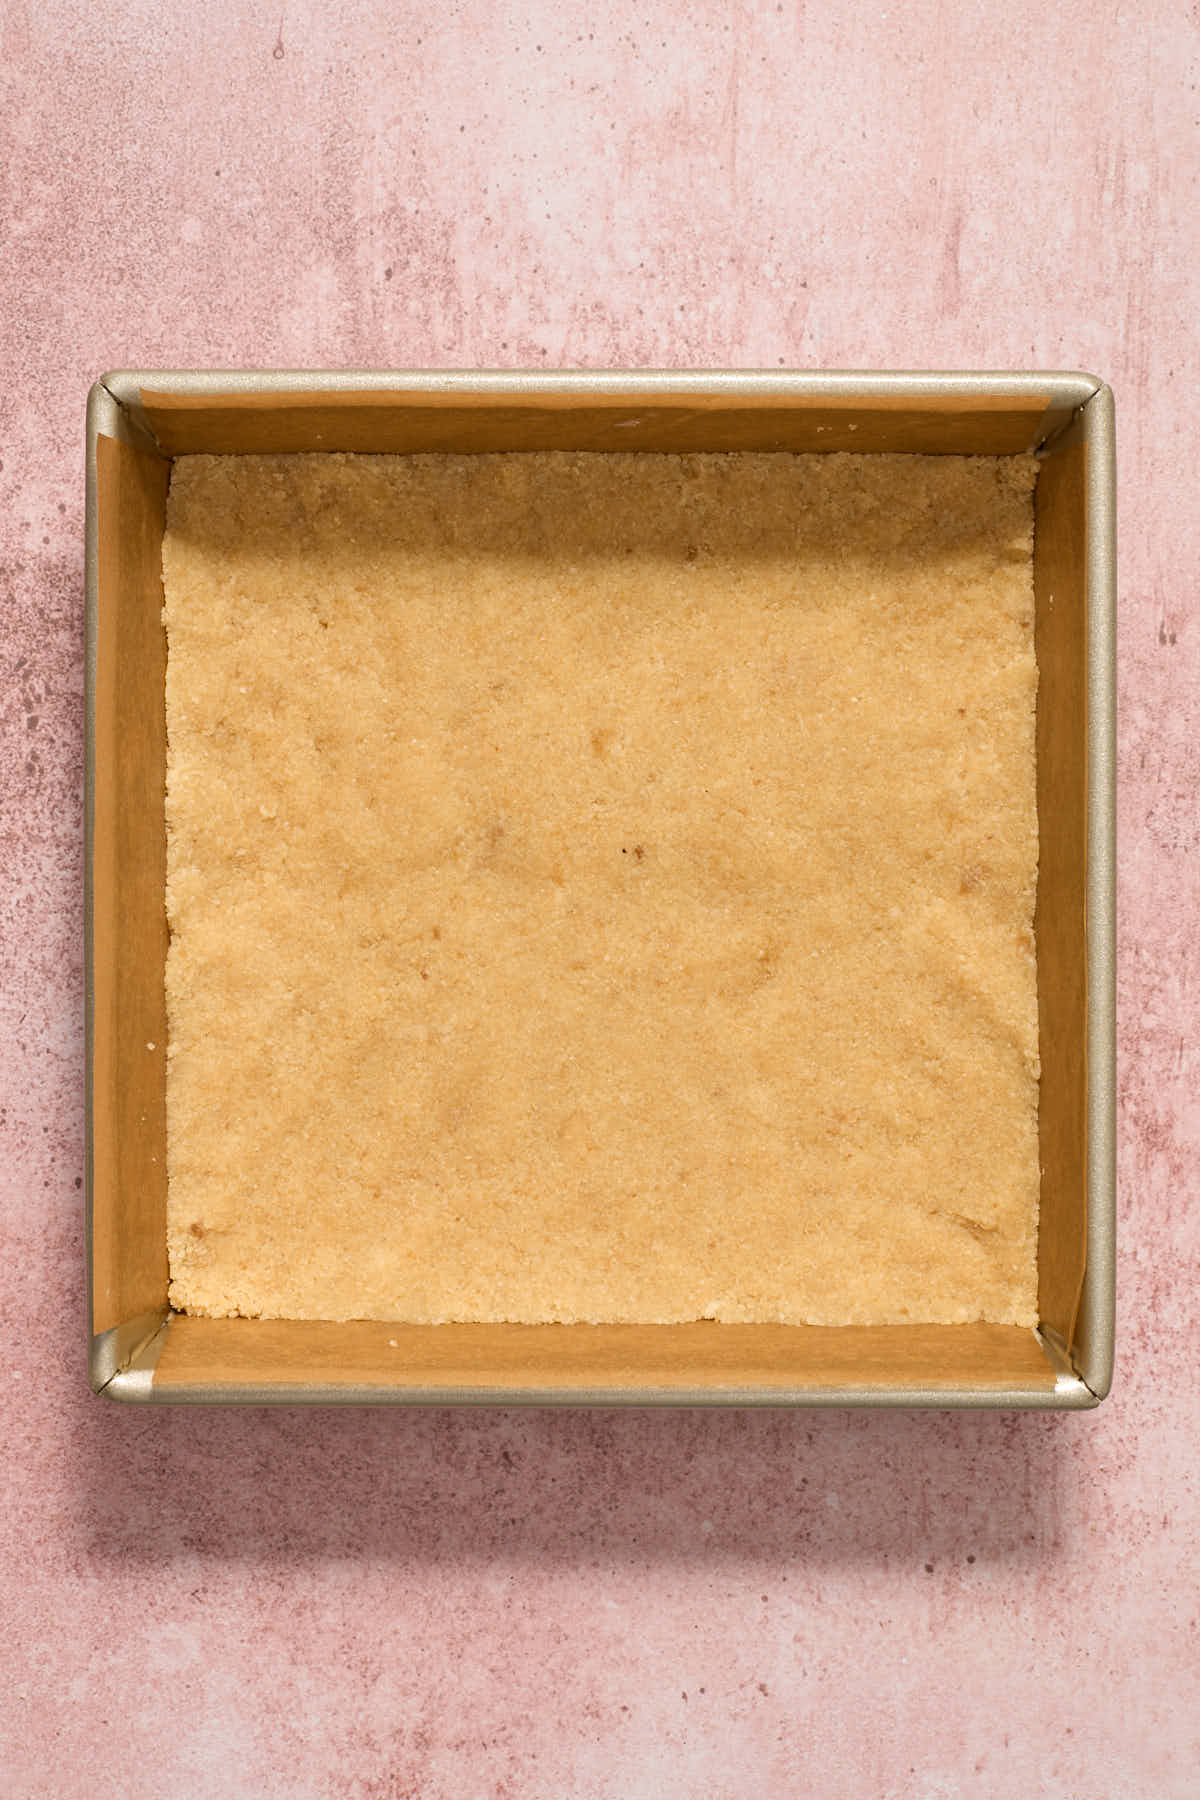
- Preheat oven to 350F. Grease and line an 8-inch square pan with overhanging parchment paper.
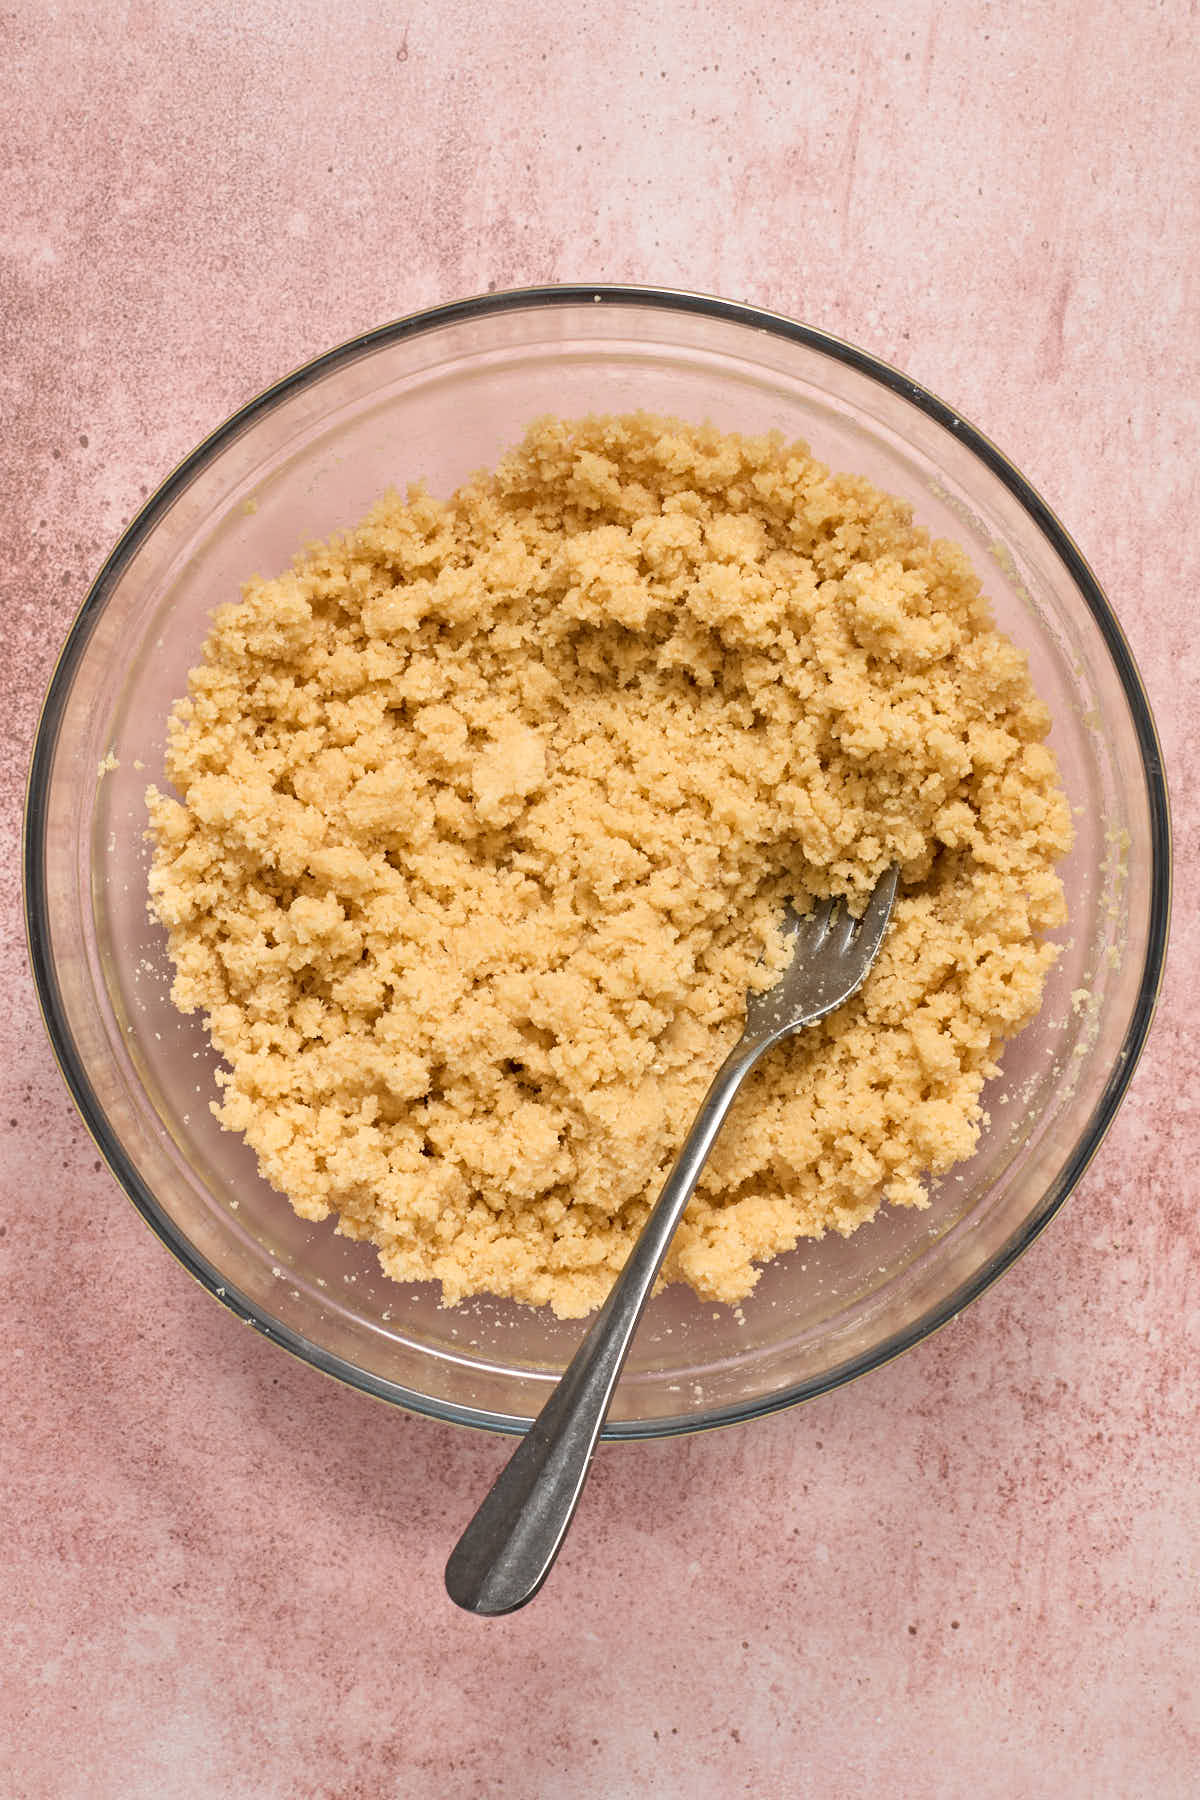
- In a large bowl, whisk together all of the dry ingredients for the crust and topping. Add the butter and vanilla and mix together with a fork until well combined. (You should be able to pinch it together like a cookie dough).
- Press about ⅔ of the dough mixture into the bottom of the prepared pan. Place the rest in the fridge until ready to use.
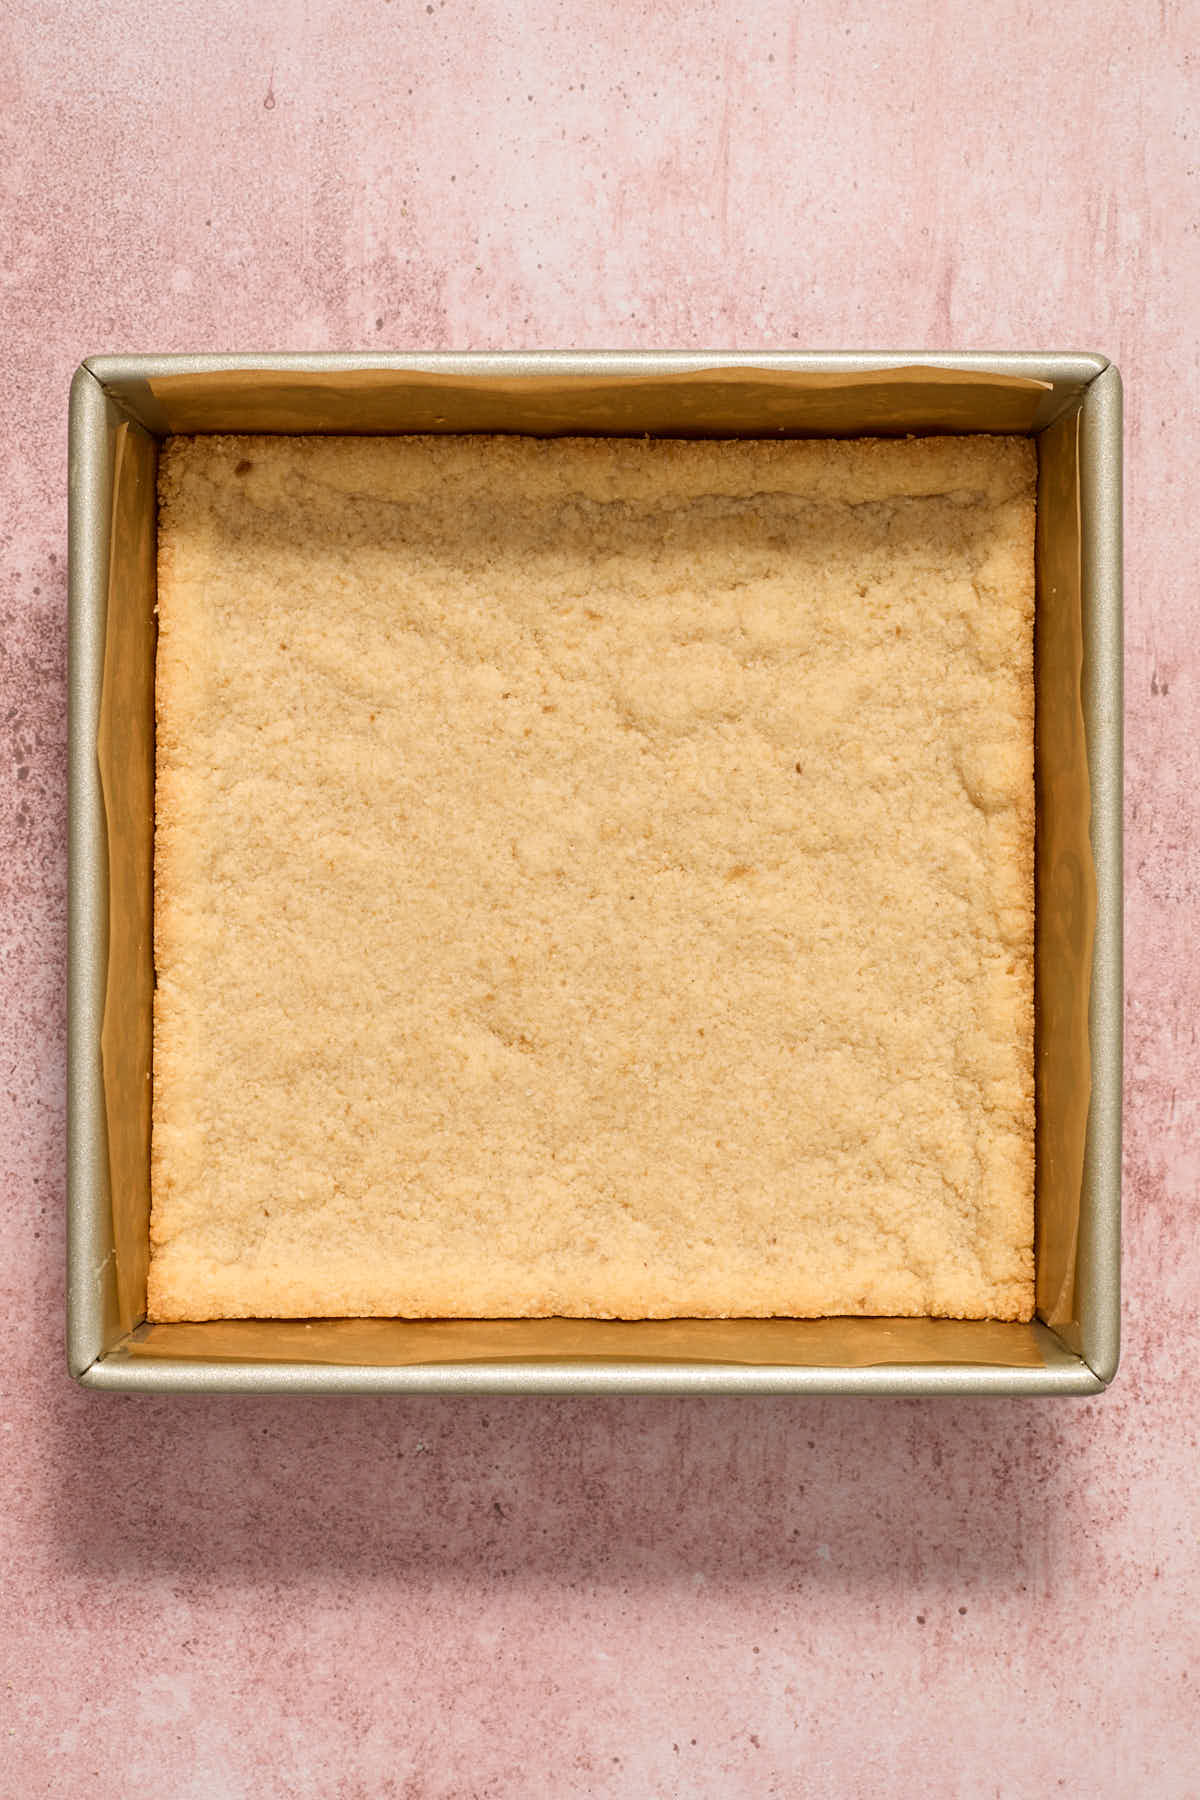
- Bake the crust for 9-11 minutes, or until the edges start to turn golden brown and the middle looks set. Remove from oven and let cool.
- Add the cherry filling ingredients to a small saucepan and stir to combine.
- Heat over medium heat until the cherry mixture thickens, stirring frequently so it doesn't burn.
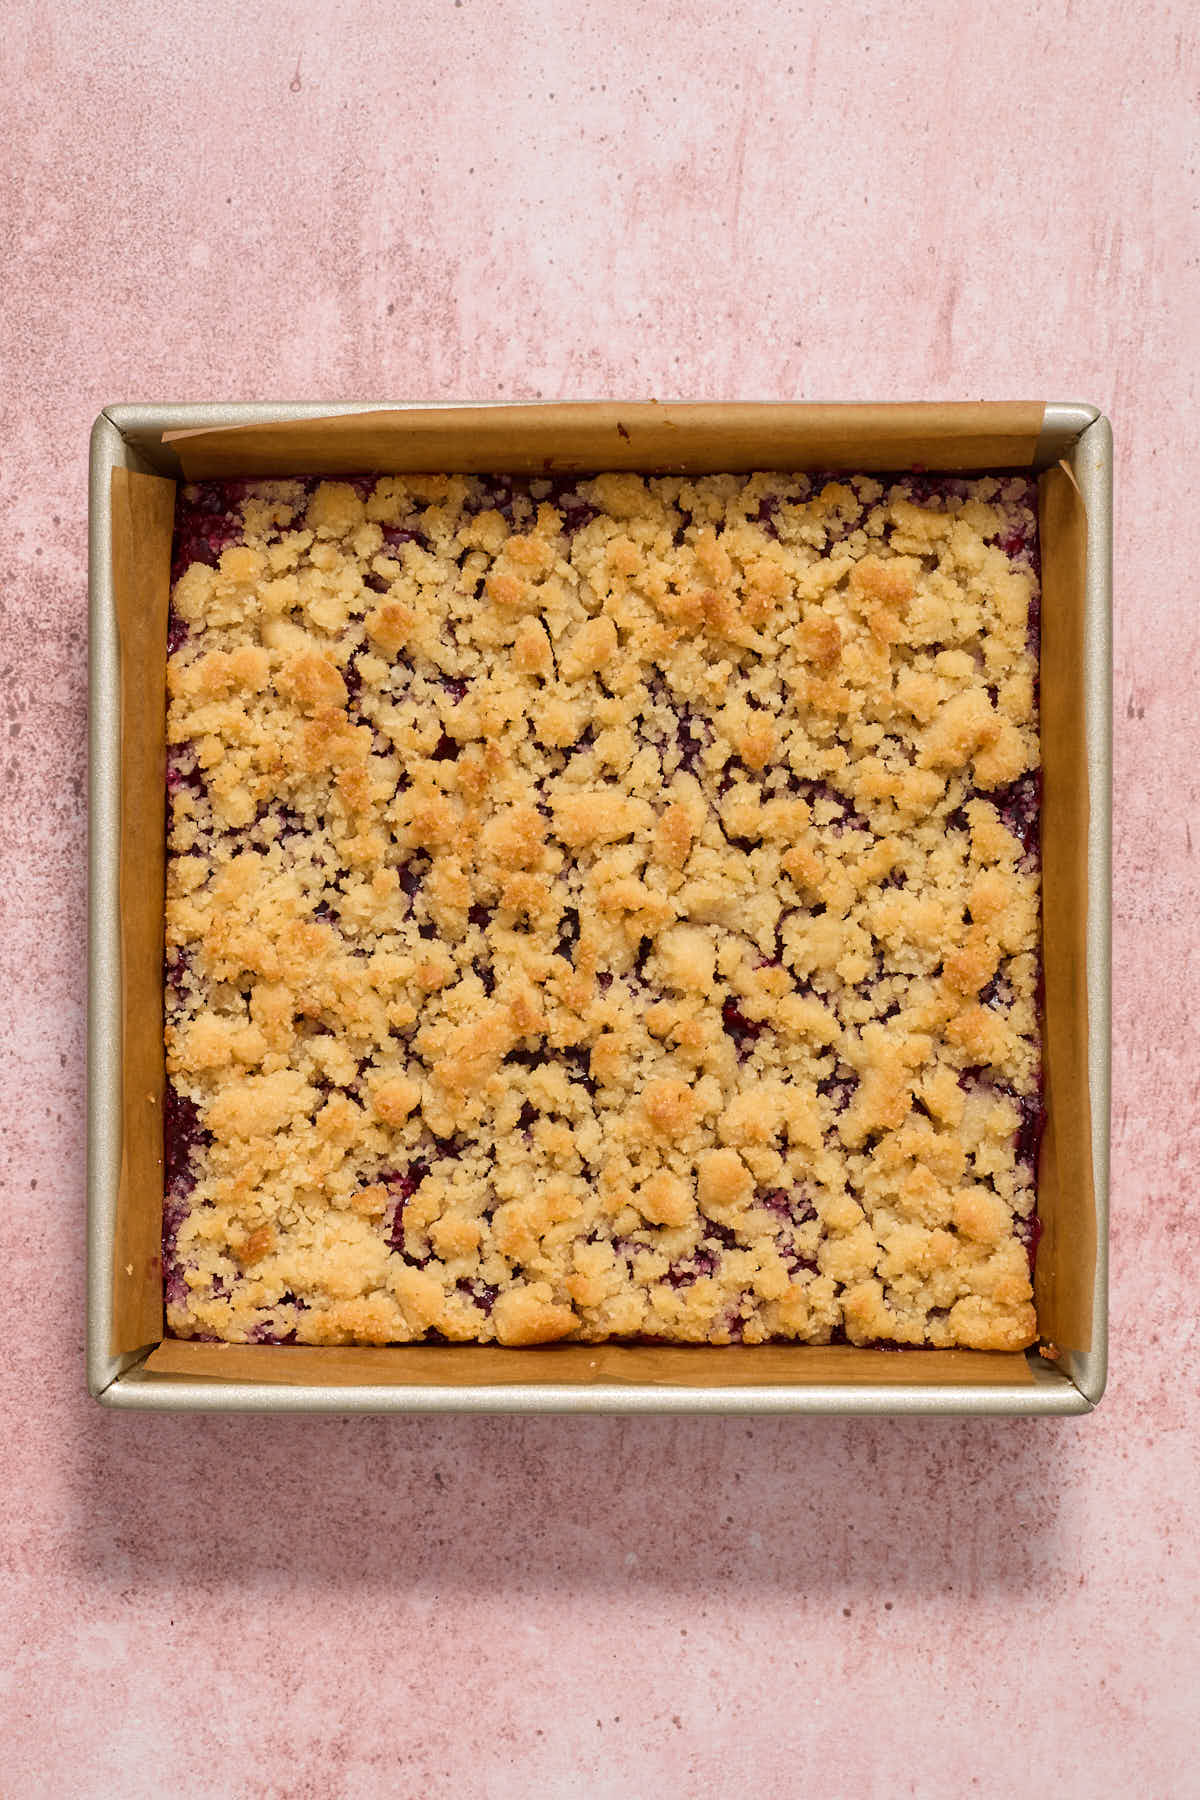
- Let the cherry mixture cool for a few minutes and then spread it over the cooled crust.
- Sprinkle the remaining ⅓ of the dough mixture over the cherry filling. (Since it's been in the fridge, you may need to break it up with your fingers).
- Bake for 14-17 minutes, or until the topping starts to brown. Let cool completely at room temperature and then chill in the fridge for 2-3 hours.
- In a small bowl, whisk together the powdered sugar and milk.
- Drizzle the glaze over top of the bars. Cut into squares and enjoy or store covered in the fridge for 4-5 days.
Notes
- Chop the cherries into small pieces for the filling. This will help the filling spread out more evenly onto the crust.
- I recommend lining your pan with overhanging parchment paper so it's easy to lift the bars out and cut them into squares.
- Once the crust is pre-baked, let it cool and firm up before adding the warm cherry filling.
- You'll want to chill these bars before cutting into them, which will help them firm up.
Want to save this recipe for later?
Nutrition Facts per Serving
Disclaimer
Nutrition information is an estimate only and will vary depending on the substitutions made and the brands used.
Did you make this recipe or have any questions?
I love reading your comments and addressing your questions, so please leave your comments and ratings or questions below!
Leave a Reply