
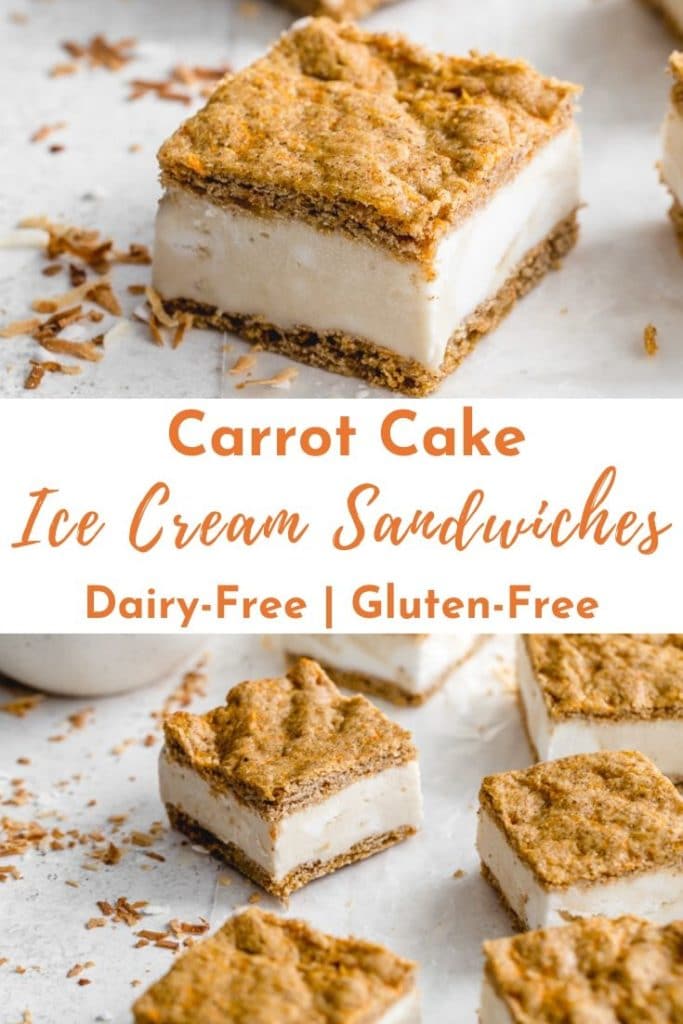
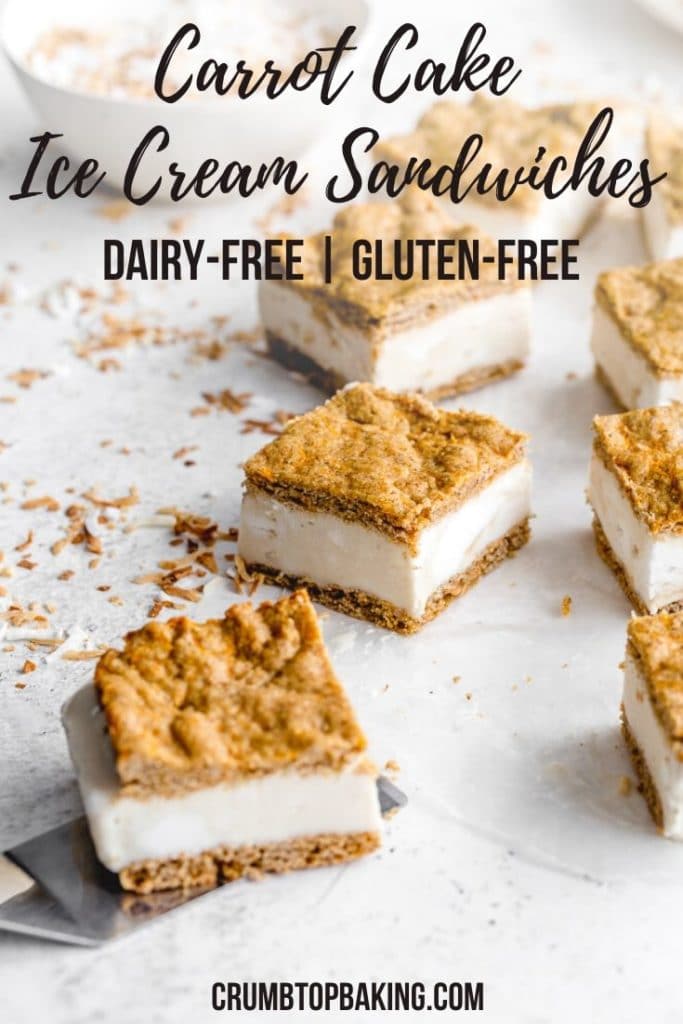
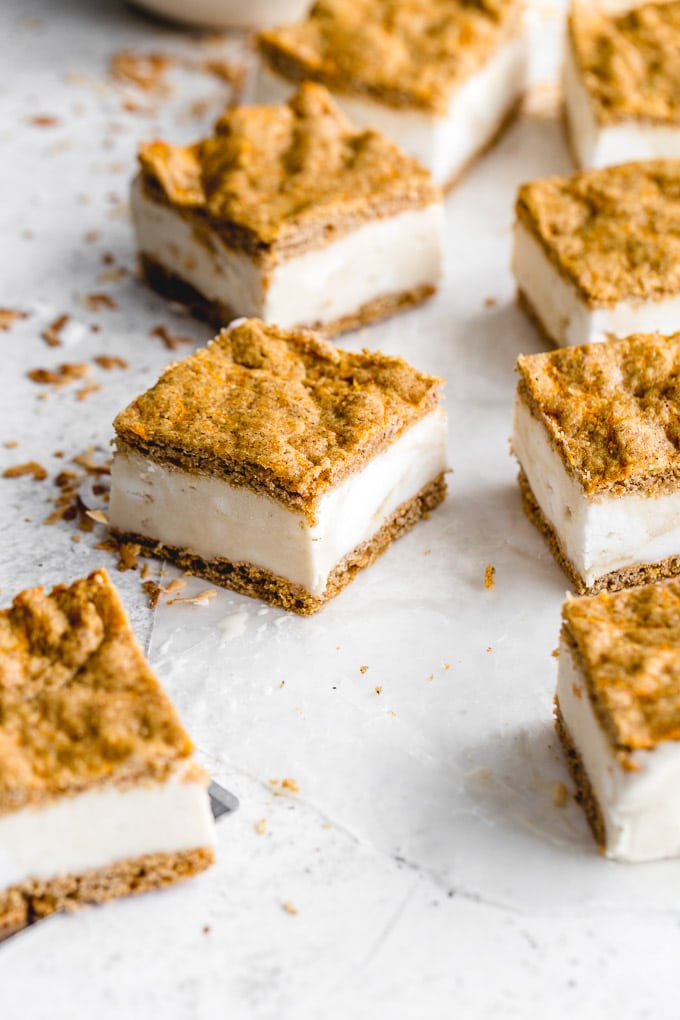
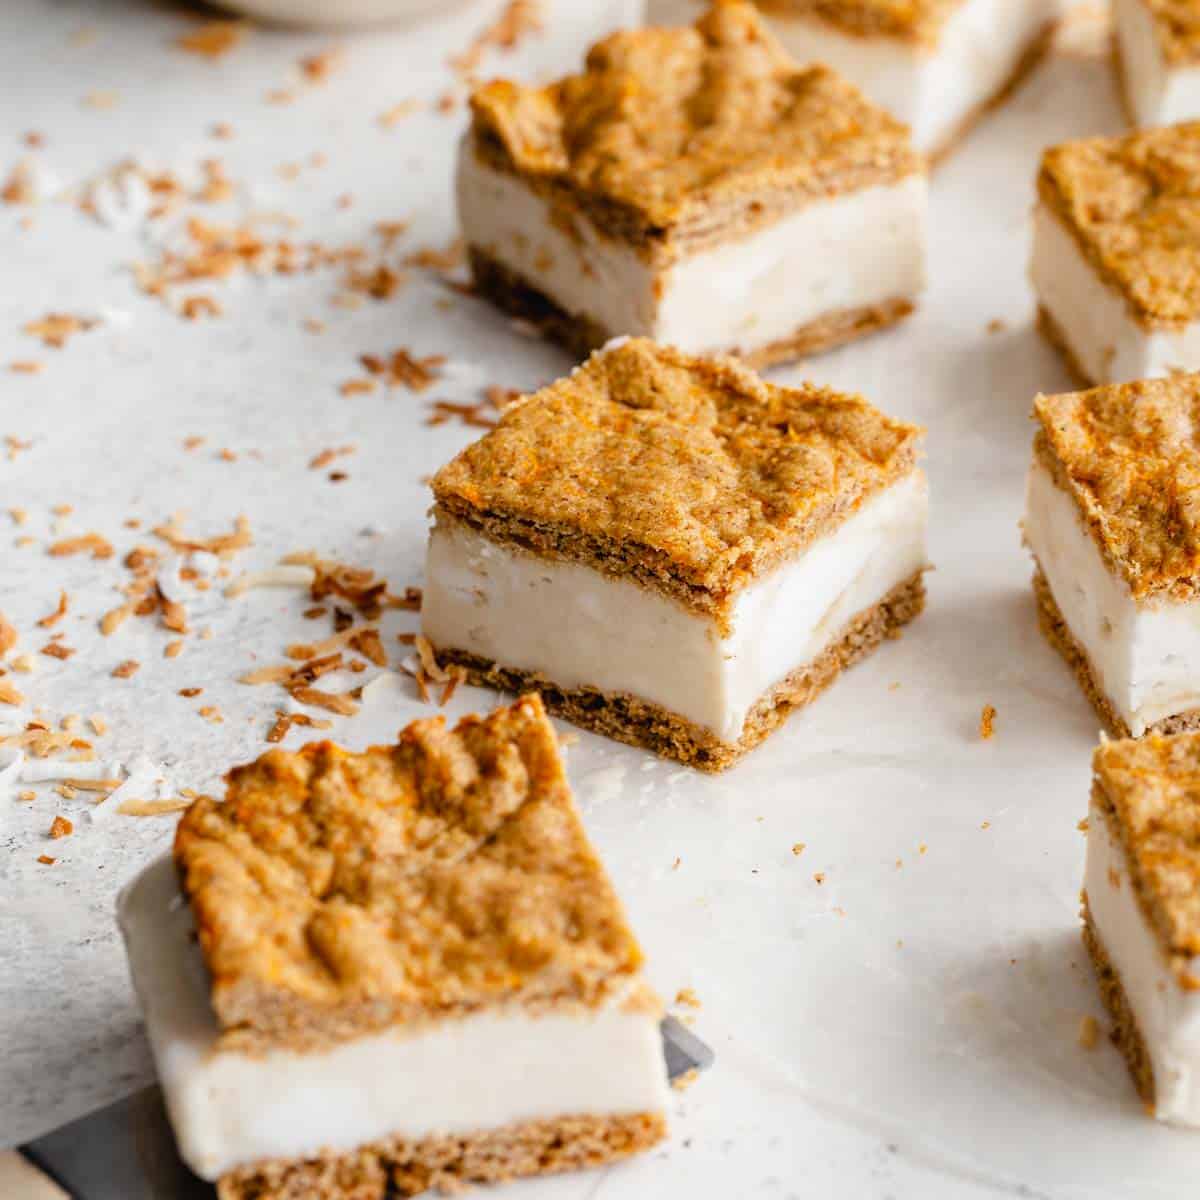
Carrot Cake Ice Cream Sandwiches are the ultimate springtime treat. A thick layer of ice cream is sandwiched between soft and chewy carrot cake cookies. They're dairy-free and gluten-free, and perfect for making ahead for a quick and easy dessert!
Want to save this recipe for later?
*This post was originally published in March 2019. It has been updated with some new photos, text and additional tips for readers. The recipe remains the same.
If you haven't guessed it yet, I love carrot cake desserts in just about any form. But even if you're not a carrot cake lover, once you try a carrot cake ice cream sandwich, you'll be sure to change your mind. My husband isn't even a fan of traditional carrot cake (or non-dairy ice cream for that matter), but he loves these sammies!
Table of contents
Details on a few ingredients
- Flours - To keep the carrot cake cookies used in these sandwiches grain-free and gluten-free, I used a mix of almond and buckwheat flours. The almond flour adds moisture which helps keep these cookies soft and chewy. And buckwheat flour is a great alternative to wheat. I used light buckwheat flour here, but you can also use dark.
- Almond butter - If you don't have almond butter, you can use another type of nut butter. Just note that it will change the taste of the sandwiches, especially if you opt for peanut butter. I also recommend using a natural nut butter for this recipe.
- Ice cream - While you can certainly make your own ice cream for this recipe, I kept it simple and used store-bought. To keep things dairy-free, I went with a non-dairy ice cream with a coconut base. But you can use any kind of ice cream or frozen yogurt. The coconut caramel flavor I used in this recipe pairs nicely with the spicy carrot cake cookies.
How to make gluten-free ice cream sandwiches
Using an electric mixer, beat together your wet ingredients.
In a separate bowl, whisk together your dry ingredients.
Gradually add the dry ingredients to the wet mixture and beat on low until a dough forms.
Stir in the finely grated carrot.
Divide the dough in half, and press each half into a thin layer into two 9-inch square pans lined with parchment paper.
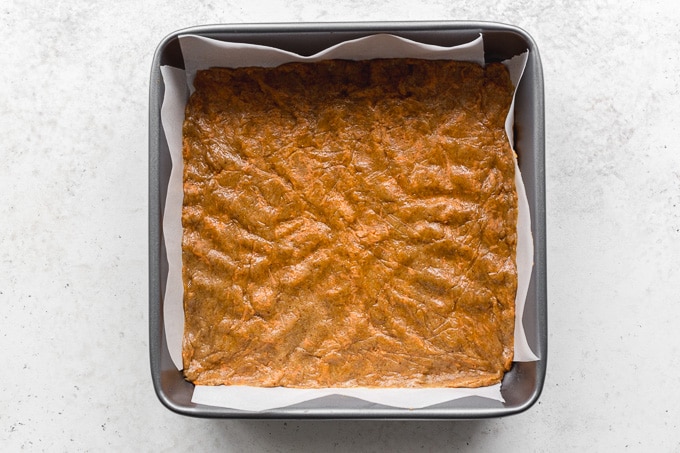
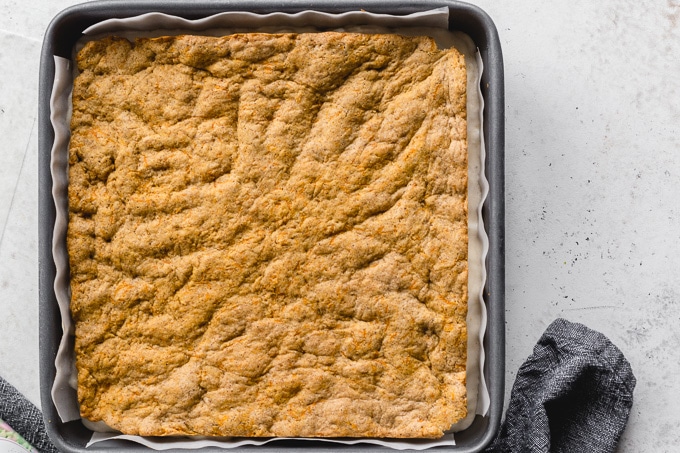
Bake at 375F for 10-12 minutes and let the layers cool completely.

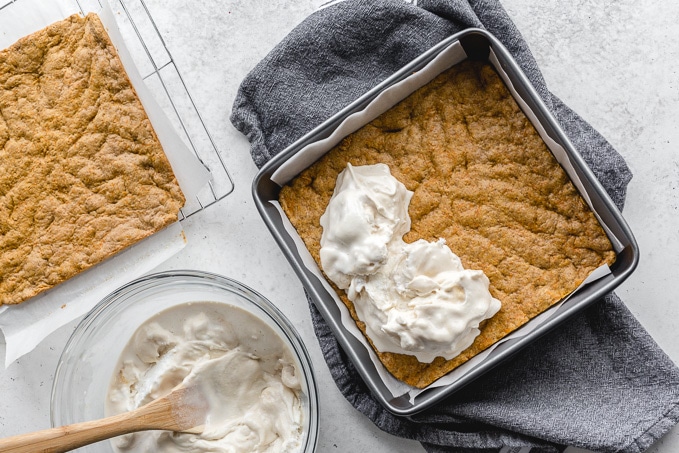
Spread the ice cream evenly over the bottom cookie layer.
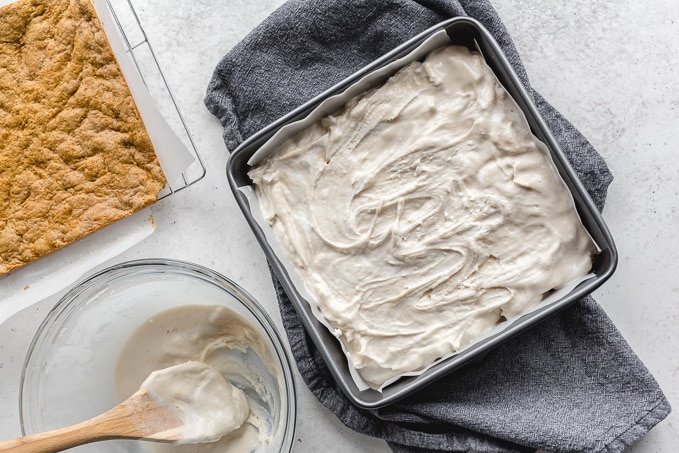
Top with the other layer and place in the freezer for 5-6 hours to firm up.
Remove from freezer and let sit at room temperature for a few minutes. Cut into 16 squares and roll in coconut (or walnuts or sprinkles).
Frequently asked questions
Once you've cut them into squares and rolled them in coconut, place them in a single layer in an airtight container and store in the freezer. If you need to store them in layers, just place a piece of wax or parchment paper in between the layers.
If stored properly, these ice cream sandwiches should last for up to 3 months.
Two 8-inch square pans will also work, but the cookie layers will end up a little thicker, so you'll need to bake them for another minute or two. You can also try using two 9-inch round cake pans. This will just change the shape of your sandwiches when you cut them out. If you don't have two square pans that are the same size, you can also just bake your cookie layers one at a time, which is what I do.
Key recipe tips and substitutions
- Ensure your cold ingredients are brought to room temperature before mixing them together. Cold ingredients may cause your coconut oil to harden as the batter mixes together.
- You'll want to lightly grease your pans before you line them with parchment paper. This helps the parchment paper stick, so it won't move as you spread out the cookie dough. You should also leave some parchment paper hanging over the edges of the pan so the sandwiches are easy to lift out and cut into squares.
- The cookie dough will be very sticky so I normally cover my hand with a small sandwich bag and cover it with non-stick cooking spray. This helps spread the dough out without it sticking to your fingers.
- The dough will also spread into a very thin layer. It may not look like it will cover the bottom of the pan, but it will. Just keep pressing it out towards the edges of the pan.
- Be sure to use finely grated carrot as this will mix into the cookie dough easily.
- To ensure the cookie layers are soft and chewy, don't over bake them. Even if they seem soft when you remove them from the oven, they will continue to firm up as they cool.
- Let the ice cream soften slightly in the refrigerator before spreading it onto the cookie base. You don't want it too runny, but you want it soft enough to spread easily.
- Before you cut and roll the sandwiches in coconut, let them sit at room temperature for a few minutes. If the ice cream is slightly soft, this will help the coconut stick to it.
More carrot cake recipes
- Coconut Carrot Cake (dairy-free and egg-free bundt cake)
- Baked Carrot Cake Donuts (gluten-free)
- Carrot Cake Loaf (with cashew cream frosting)
- Small Carrot Cake Recipe (single layer carrot cake)
- Gluten-Free Carrot Cake Cupcakes (with cream cheese frosting)
Recipe inspired by She Likes Food Carrot Cake Ice Cream Sandwiches.
If you make this recipe, I'd love to hear what you think in the comments below!
HUNGRY FOR MORE? Sign up for our newsletter and follow Crumb Top Baking on Instagram, Pinterest and Facebook!
📖 Recipe
Carrot Cake Ice Cream Sandwiches (Dairy-Free, Gluten-Free)
Ingredients
- ¼ cup cane sugar
- ¼ cup almond butter, room temperature
- 2 tablespoons virgin, cold pressed coconut oil, softened but not melted
- 1 large egg, room temperature
- ½ teaspoon vanilla extract
- ½ cup light buckwheat flour
- ½ cup almond flour
- ½ teaspoon ground cinnamon
- ¼ teaspoon baking soda
- ¼ teaspoon baking powder
- ¼ teaspoon kosher salt
- ⅛ teaspoon ground nutmeg
- ⅛ teaspoon ground ginger
- ½ cup finely grated carrot
- 5 cups non-dairy ice cream, (or ice cream of choice, slightly softened)
- ½ cup unsweetened toasted coconut
Instructions
- Pre-heat oven to 375F. Grease and line two 9-inch square baking pans with parchment paper.
- In a large mixing bowl, add the sugar, almond butter and coconut oil. Using an electric mixer, beat on high until creamy. Add the egg and vanilla and beat until smooth.
- In a small bowl, whisk together the flours, cinnamon, baking soda, baking powder, salt, nutmeg and ginger.
- On low-speed, gradually add the dry ingredients to the wet mixture until a dough forms. You may need to stop a few times to scrape down the sides of the mixing bowl. Stir in the grated carrot.
- Divide the dough in half, and press out into a thin layer in the prepared baking pans. The dough will be very sticky. (See notes).
- Bake for 10-12 minutes, or until the edges start to brown slightly. Do not over bake. Let the cookie layers cool completely. (You can let them cool in the pans).
- Once the cookie layers have cooled, choose one of the pans as your bottom layer. Spread the ice cream evenly over this layer. Top with the other cookie layer, and press down slightly so it sticks to the ice cream. Place in the freezer for 5-6 hours to firm up.
- When ready to cut into squares, remove from freezer and let sit at room temperature for a few minutes. Cut into 16 squares and roll in coconut. Place in an airtight container and store in the freezer.
Notes
- Ensure your cold ingredients are brought to room temperature before mixing them together. Cold ingredients may cause your coconut oil to harden as the batter mixes together.
- If you don't have two square 9-inch pans, just bake your cookie layers one at a time.
- The cookie dough will be sticky. I recommend covering your hand with a small sandwich bag or plastic glove that has been sprayed with non-stick cooking spray. This helps press the dough out into the pan without it sticking to your fingers.
- Be sure to check out the FAQ as well as the tips and substitutions section above the recipe for more detailed advice and suggestions for making this recipe.
Want to save this recipe for later?
Nutrition Facts per Serving
Disclaimer
Nutrition information is an estimate only and will vary depending on the substitutions made and the brands used.
Did you make this recipe or have any questions?
I love reading your comments and addressing your questions, so please leave your comments and ratings or questions below!

Tasia ~ two sugar bugs says
My Big E will go crazy for these as carrot cake is her favorite! Adding it to our mom-school cooking curriculum!
Leanne says
Yay! Hope you like them as much as we do Tasia! Thanks.
Matt - Total Feasts says
Carrot cake and ice cream = winning! Perfect for the warmer weather that is on the way!
Leanne says
I sure hope warmer weather is on the way! Thanks Matt!
Katerina | Once a Foodie says
Anything carrot cake is always a great idea in my book, Leanne! I love the use of almond butter, almond and buckwheat flours here - I love cooking with those ingredients. I can tell you right now these would be a big hit in our house. Thanks for sharing!
Leanne says
Thanks Katerina! They're some of my favourite ingredients to bake with!
Alexandra @ It's Not Complicated Recipes says
Oh so delicious, and what a great dessert for an Easter celebration. I love carrot cake also, Leanne - and this recipe is making me so excited - what a great idea!
Leanne says
Thanks Alex! Hope you had a lovely Easter!
Katherine | Love In My Oven says
I'm thinking these would be such a fun treat to make with the kids!! I love all things carrot cake, and ice cream sandwiches are just SO FUN! These look fantastic! Love your new photos 🙂
Leanne says
Ice cream sandwiches are definitely a fun treat! Thanks Katherine!
Mary Ann | The Beach House Kitchen says
The ultimate springtime treat for sure Leanne! We're all carrot cake lovers at our house, so these would disappear quickly! Pinned and excited to try!
Leanne says
Thanks Mary Ann! They didn't last long in my house!
Christie says
Such a fantastic idea to marry carrot cake with ice cream to make a sandwich! Sooo delicious and perfect for Easter!
Leanne says
Thank you Christie!
Milena says
Leave it to you to create an amazing healthy dessert! I am loving the idea of carrot cake ice cream sandwiches. Our Easter meal is shaping up to be really good -adding these little numbers to the menu!
Leanne says
Thanks Milena! Hope you liked them!
marcie says
These are so much fun, and I love that they're gluten-free! I've almost forgotten about Easter this year under the circumstances -- this would be such a nice Easter treat! Hope you are doing well!
Leanne says
Thanks Marcie! Hope you had a lovely Easter!