Dairy-free, vegan and refined sugar-free, this Oat Milk Chia Pudding is a healthy, make ahead breakfast with just 3 ingredients and 3 minutes prep time!
When it comes to meal prepping, there are two things I always make and have on hand – homemade granola and chia pudding. Just add some fresh fruit, and you’ve got yourself a filling and wholesome breakfast.
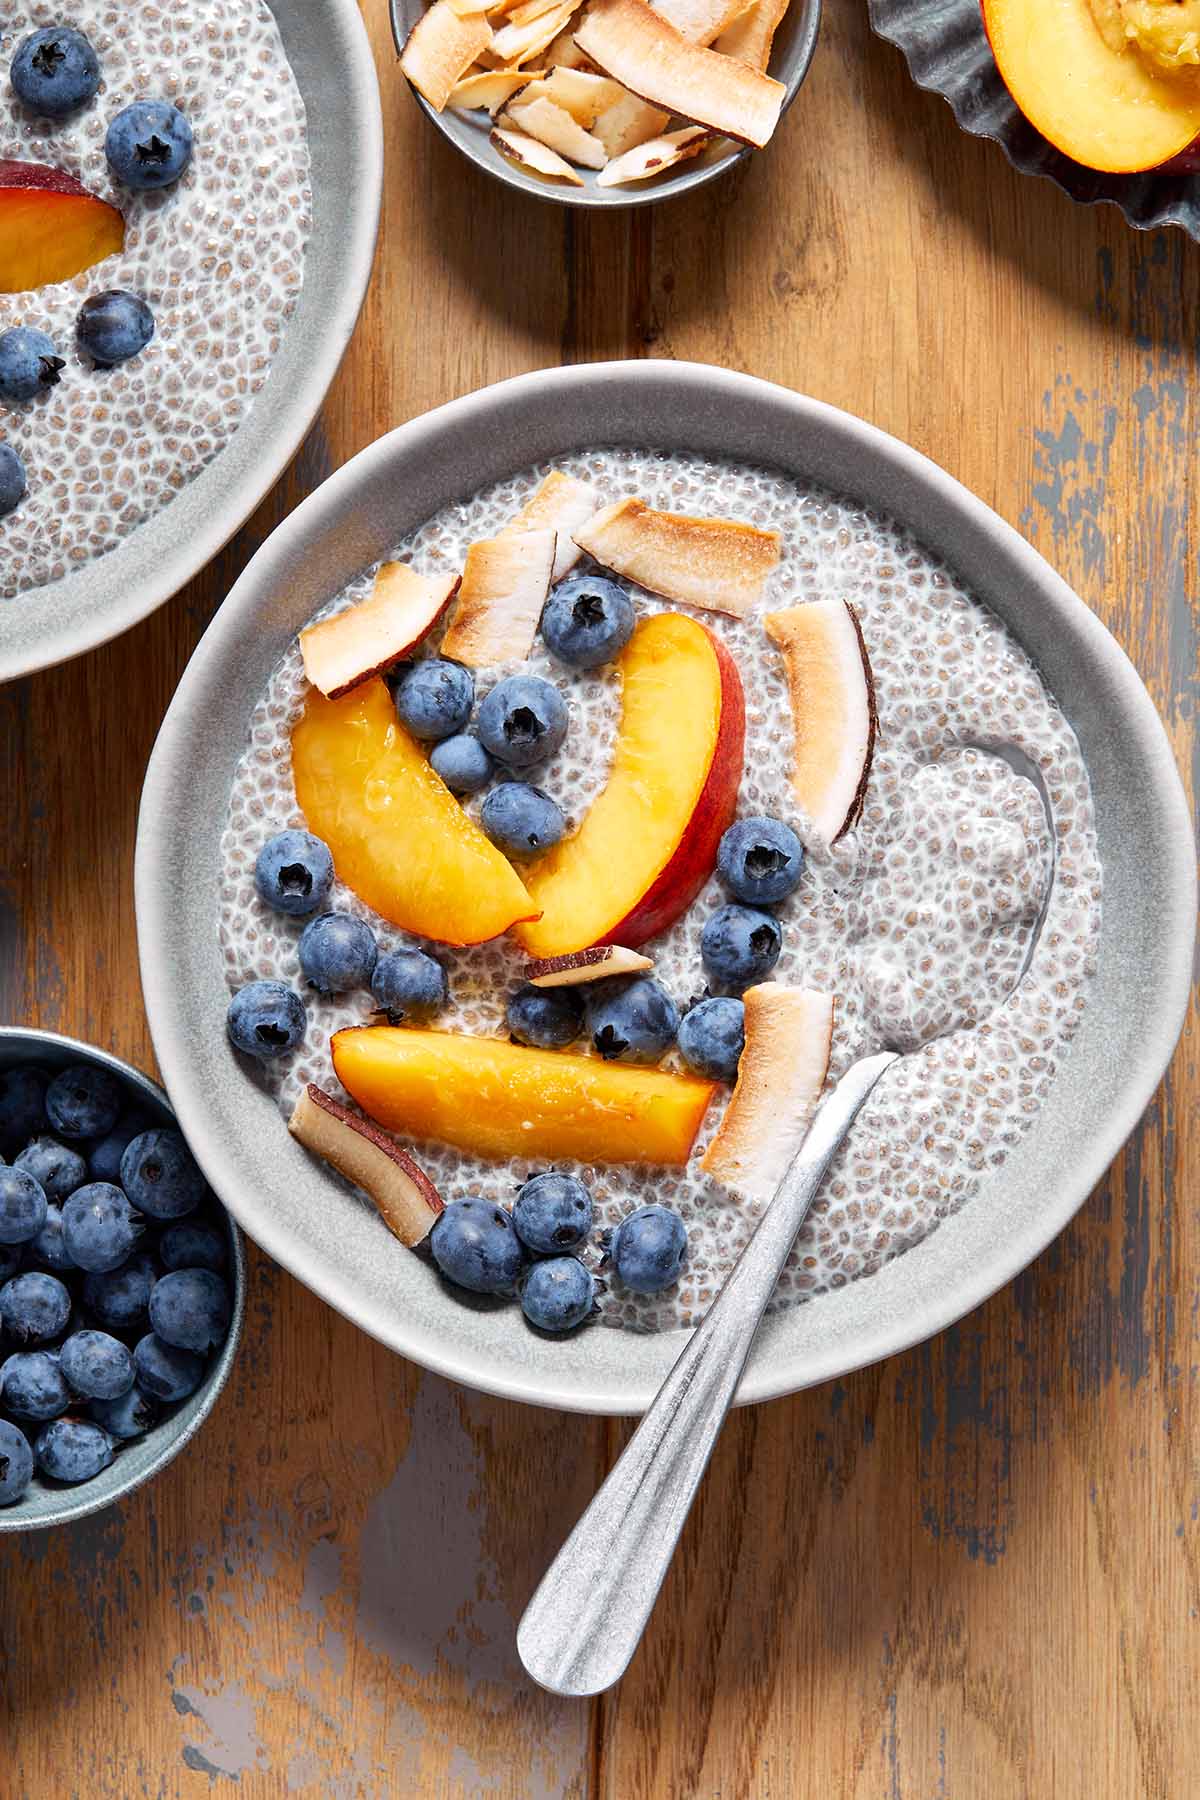
I normally make chia puddings with almond milk, like this cherry chia pudding, but recently I started using oat milk, and I’m loving the results. Oat milk is thicker than almond milk and adds a creamier texture to chia seed puddings.
You can actually use any type of milk you like in chia pudding. I use coconut milk quite a bit too, and love it paired with pineapple in this pineapple coconut chia pudding.
What are chia seeds?
Chia seeds are tiny seeds that are black or white in colour and come from the salvia hispanica plant, which is native to Mexico and Guatemala. They contain vitamins and minerals, like calcium and iron, and they’re also high in fibre, protein and omega-3 fatty acids.
Why you’ll love this oat milk chia pudding
- It’s quick and easy to make. You just need 3 ingredients and it takes just 3 minutes to prepare. (The hardest part is waiting a few hours for the pudding to set!)
- Since chia seeds need time to plump up and thicken into a chia pudding, this is a great recipe to meal prep for easy breakfasts.
- Oat milk not only makes this chia pudding dairy-free and vegan but also makes it extra creamy.
- The pudding is sweetened with just a little maple syrup so it’s refined sugar-free.
Details on the ingredients
You just need 3 simple ingredients!
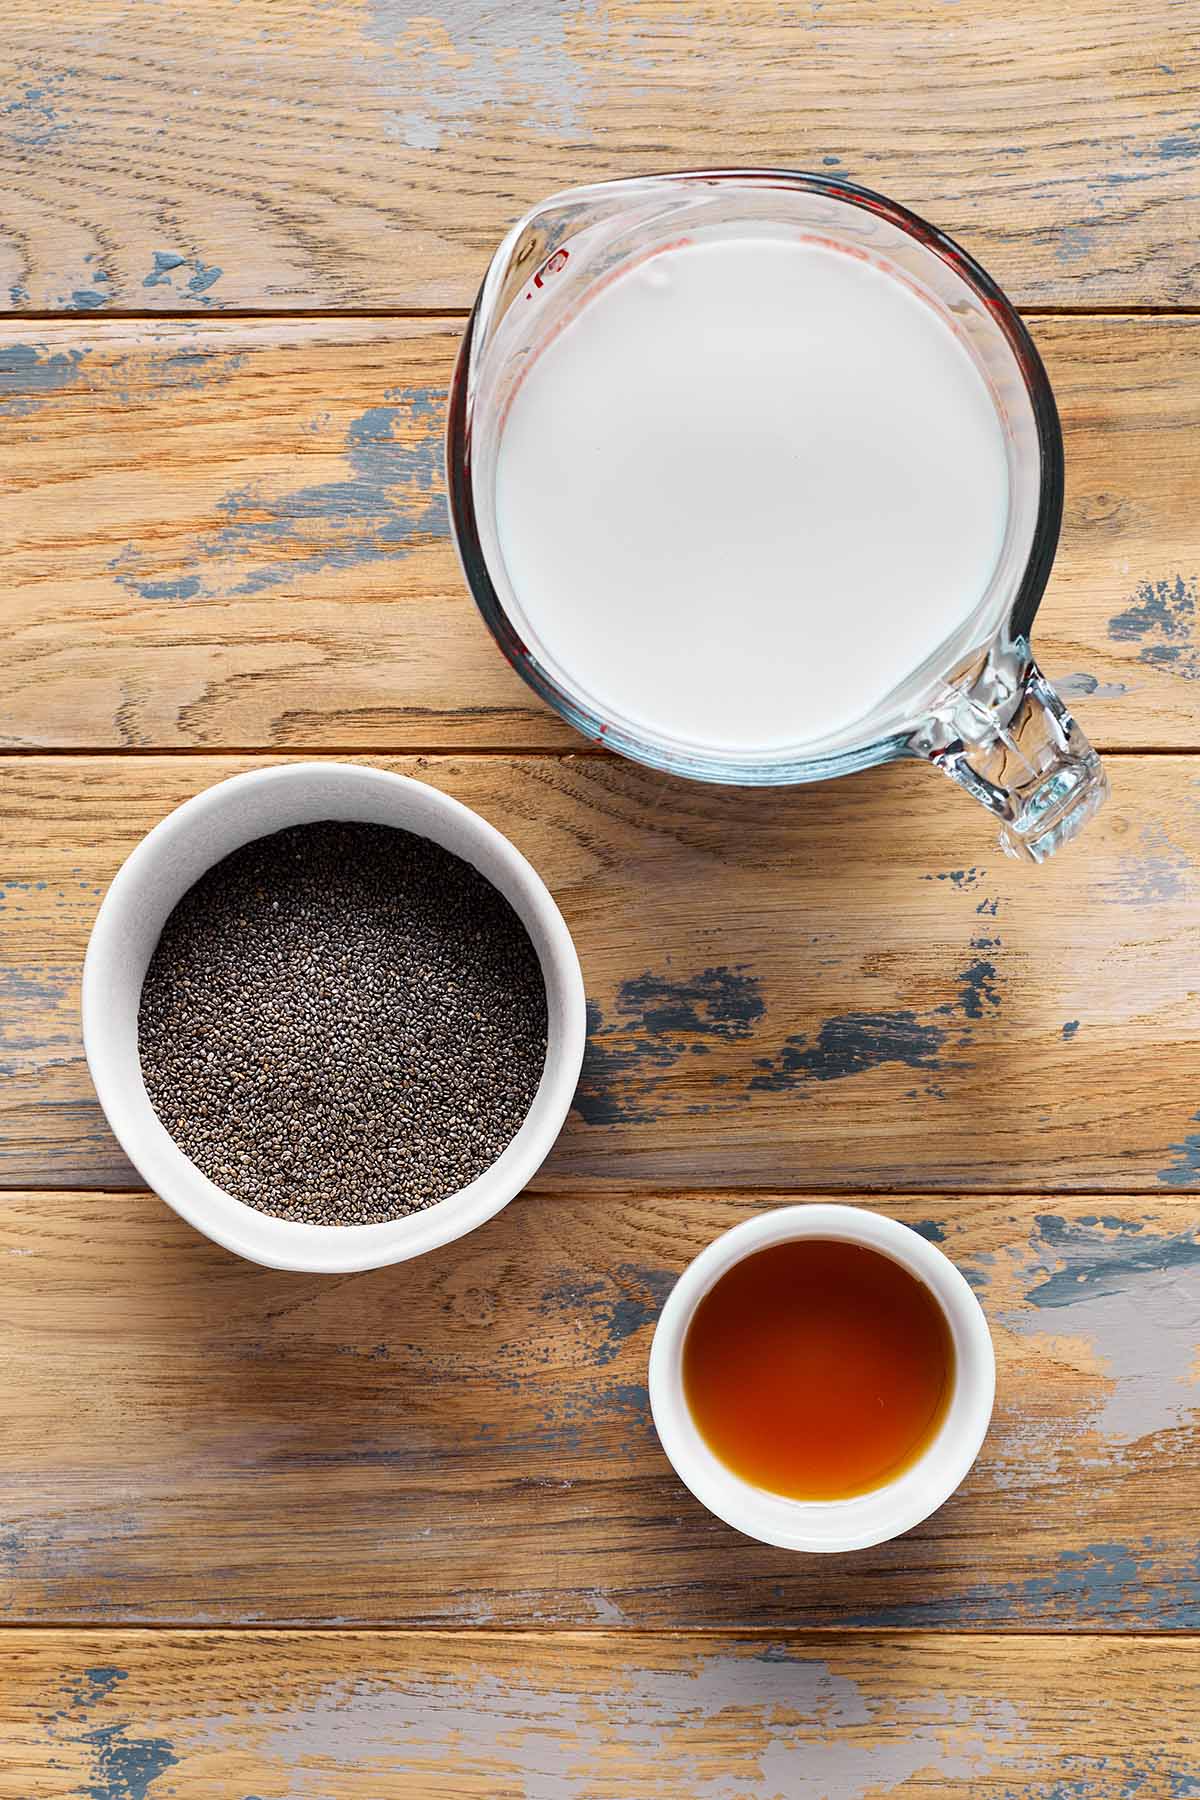
Chia seeds – I used black chia seeds, but you can also use white. Black seeds are more common and readily available at most grocery stores.
Oat milk – This is typically found in the organic section of grocery stores (at least where I live). You can buy it refrigerated or as shelf stable. It also comes in unsweetened and sweetened. I used unsweetened in this recipe. If you use sweetened, you may want to reduce the amount of maple syrup you use.
Maple syrup – You just need two tablespoons of maple syrup to add a hint of sweetness. Feel free to add more if you prefer a sweeter chia pudding. You can also use agave syrup or honey (if you don’t need the recipe to be vegan).
How to make chia pudding with oat milk
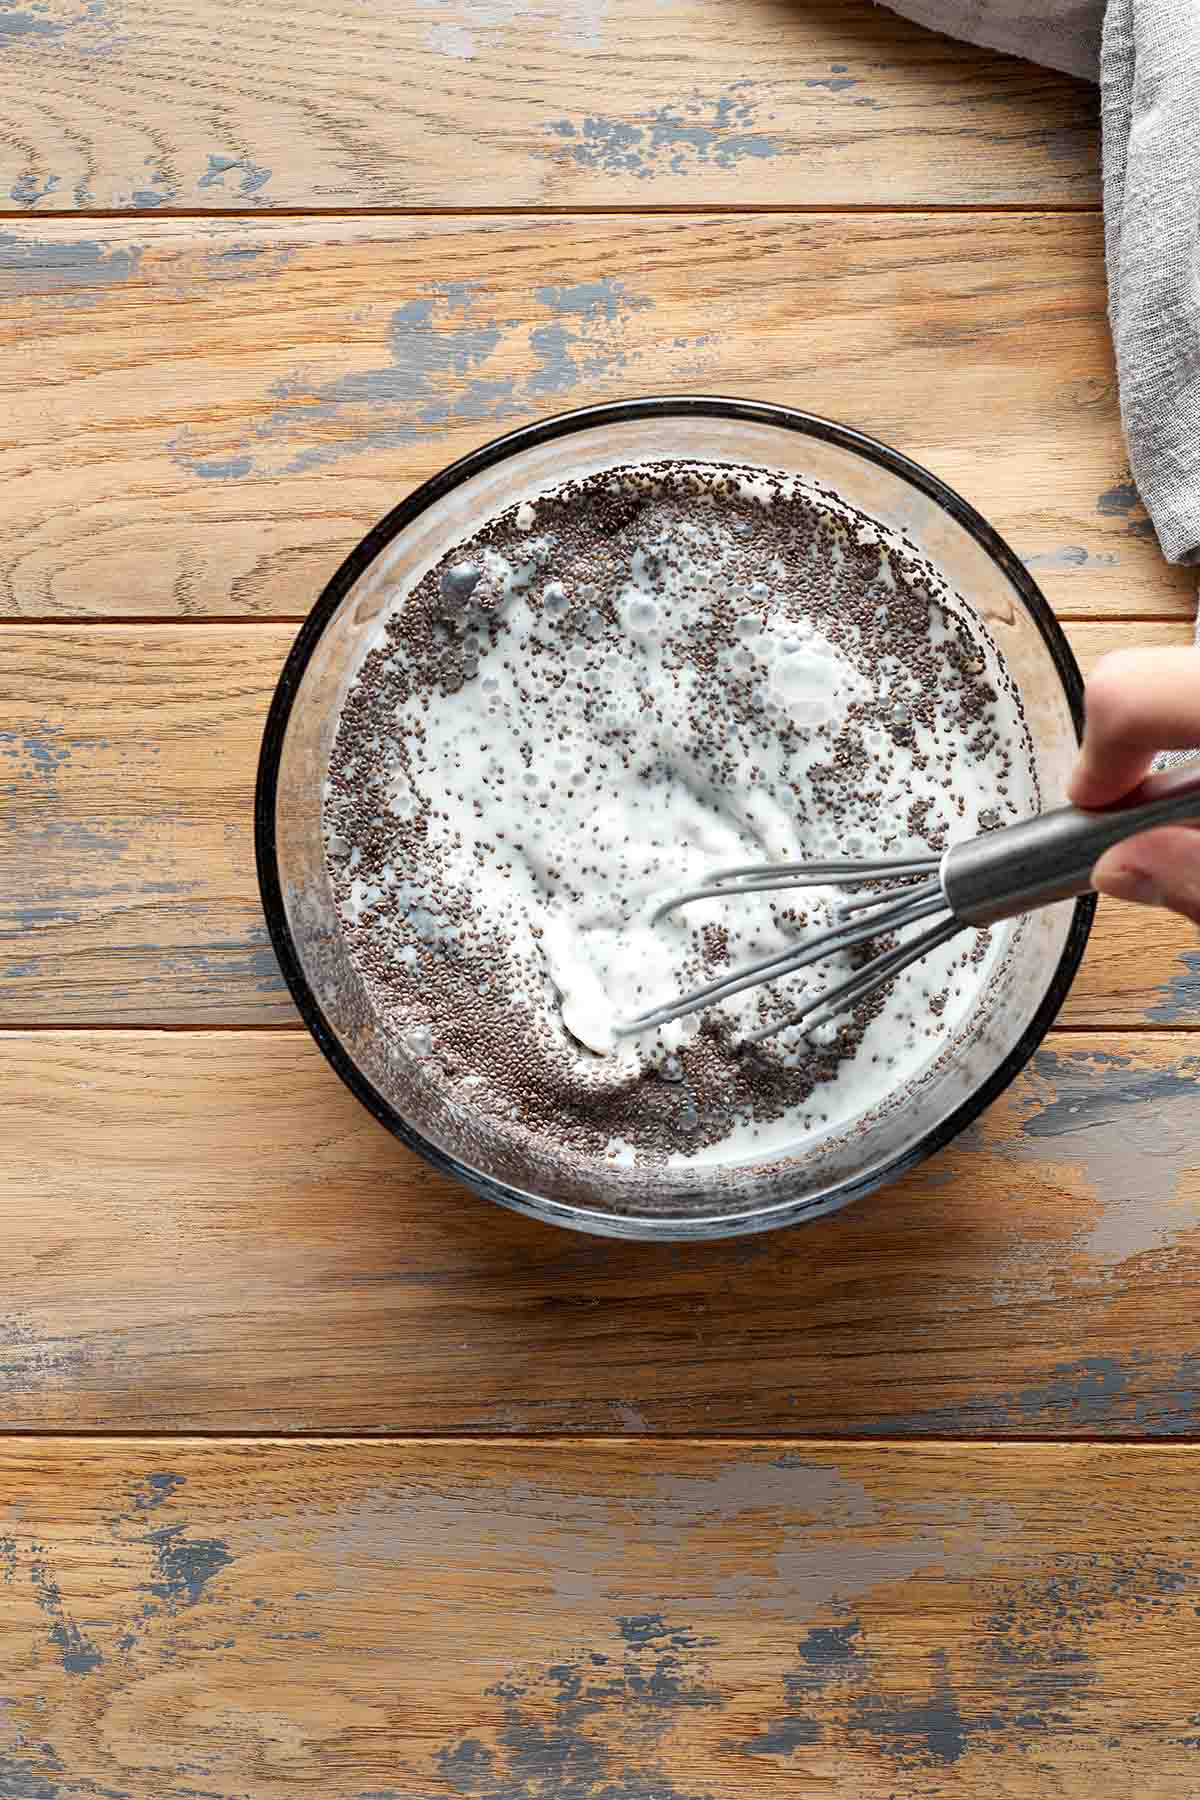
Add the chia seeds, milk and maple syrup to a bowl and whisk until the chia seeds are incorporated. You can also add everything to a large mason jar and shake well.
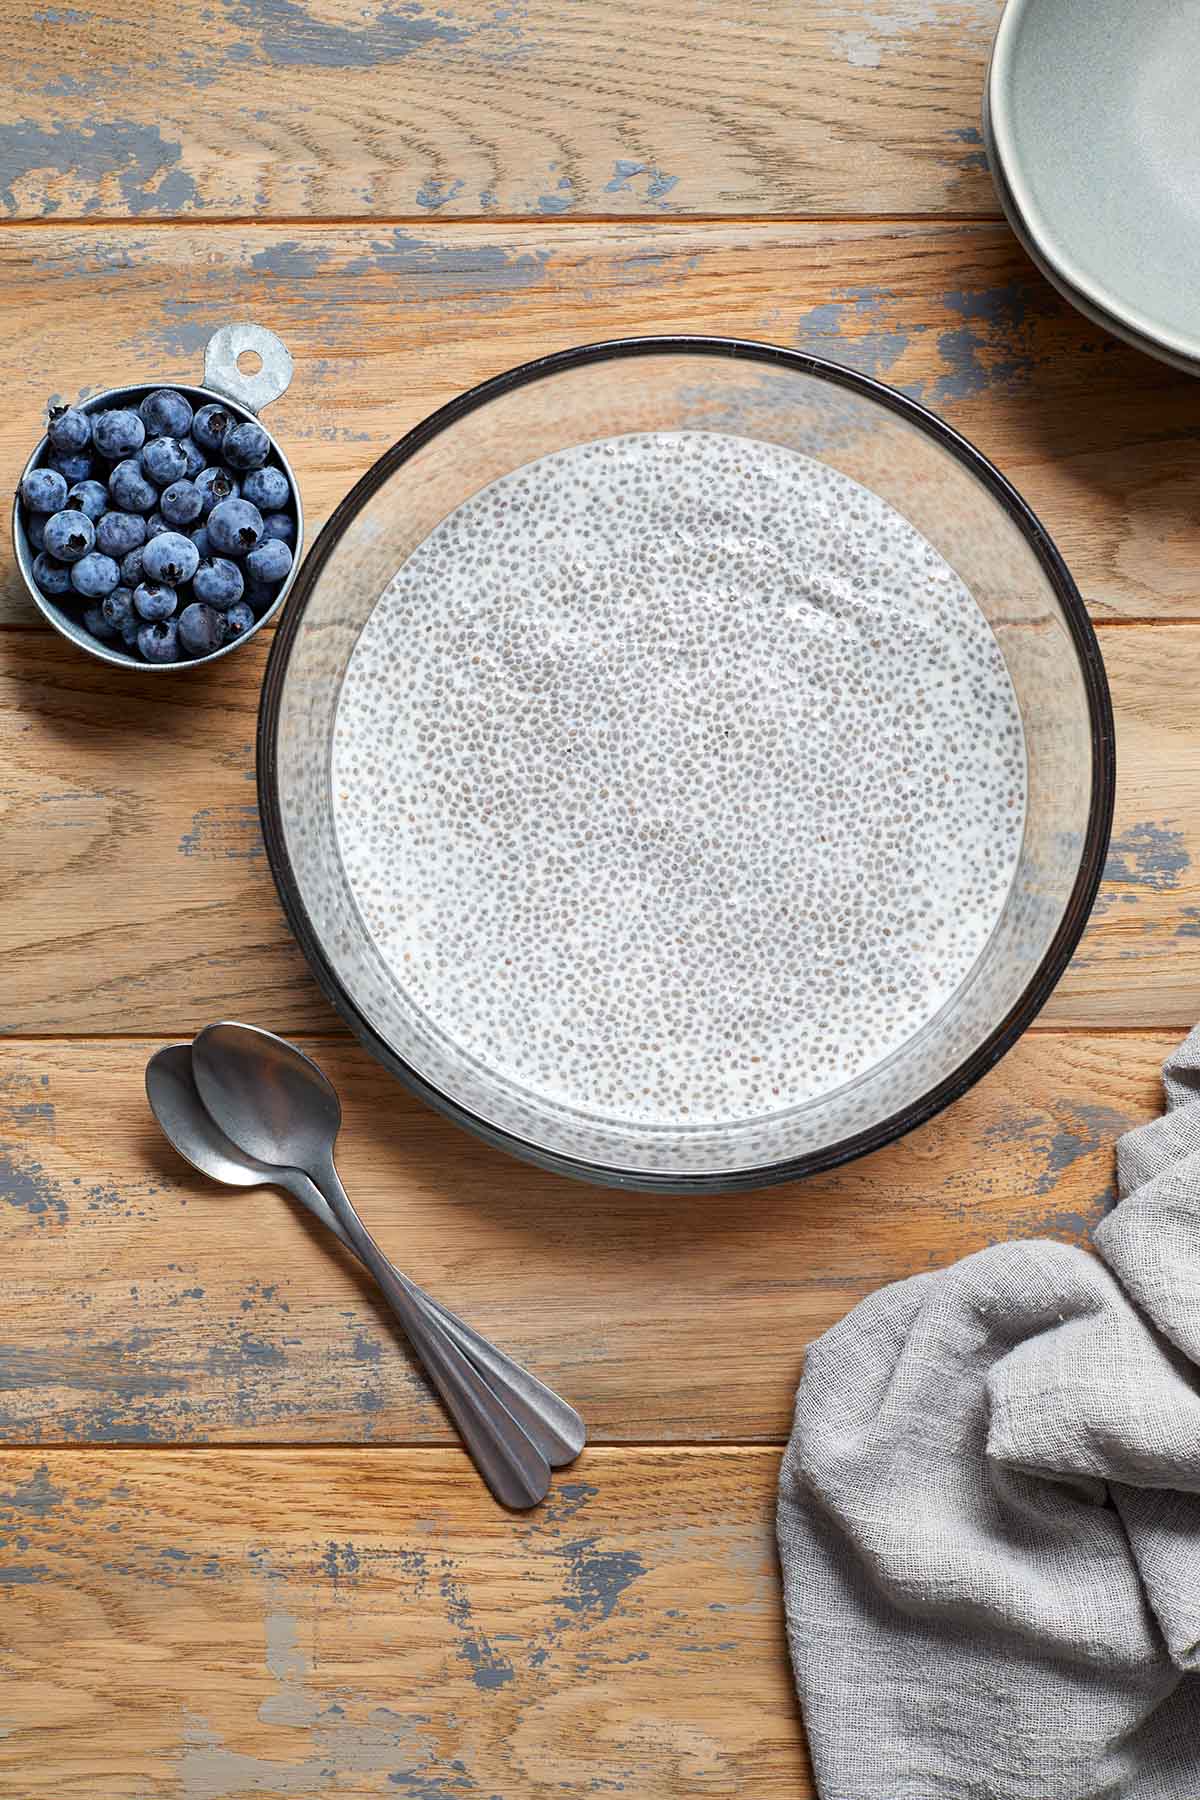
Cover and place in the fridge and let set for 3-4 hours, or overnight. I like to check on it after about an hour and stir or shake it again. (Sometimes the chia seeds settle on the bottom or clump together).
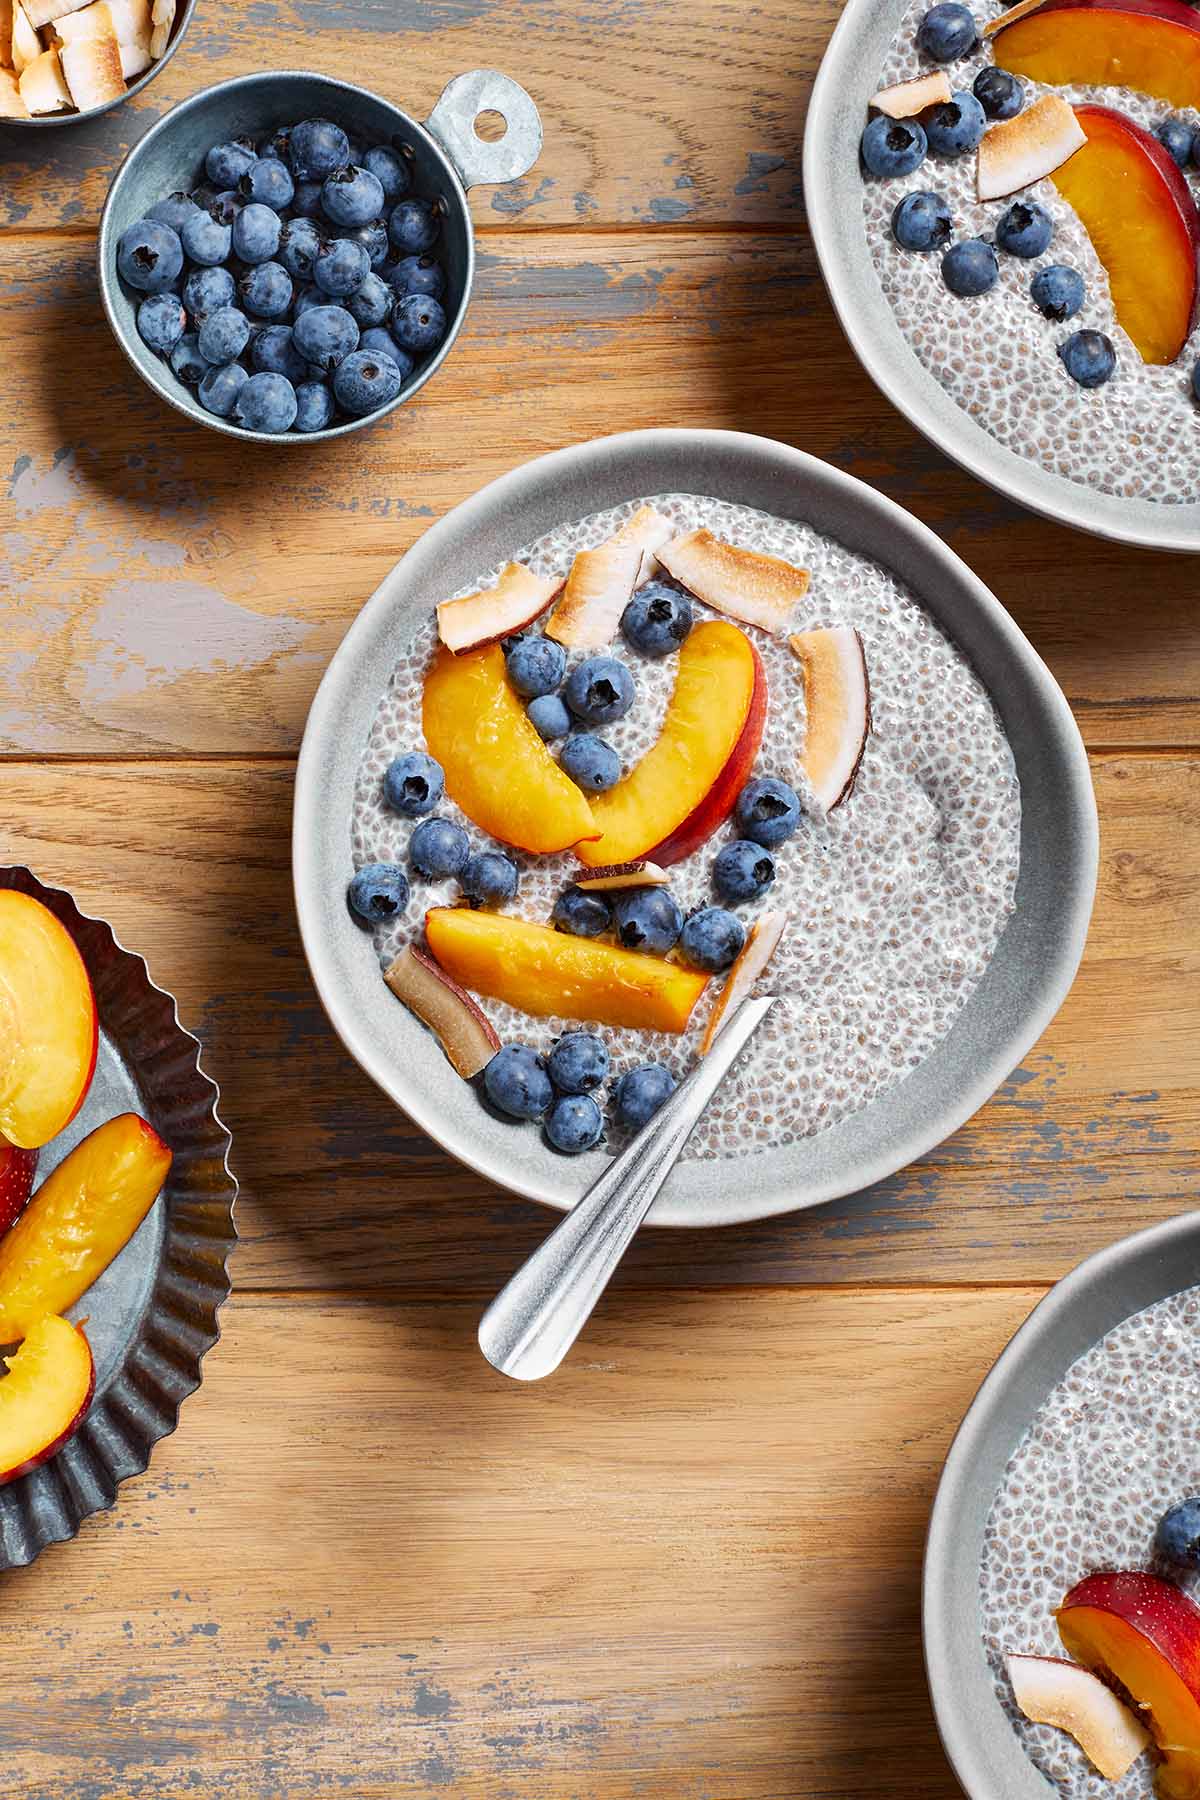
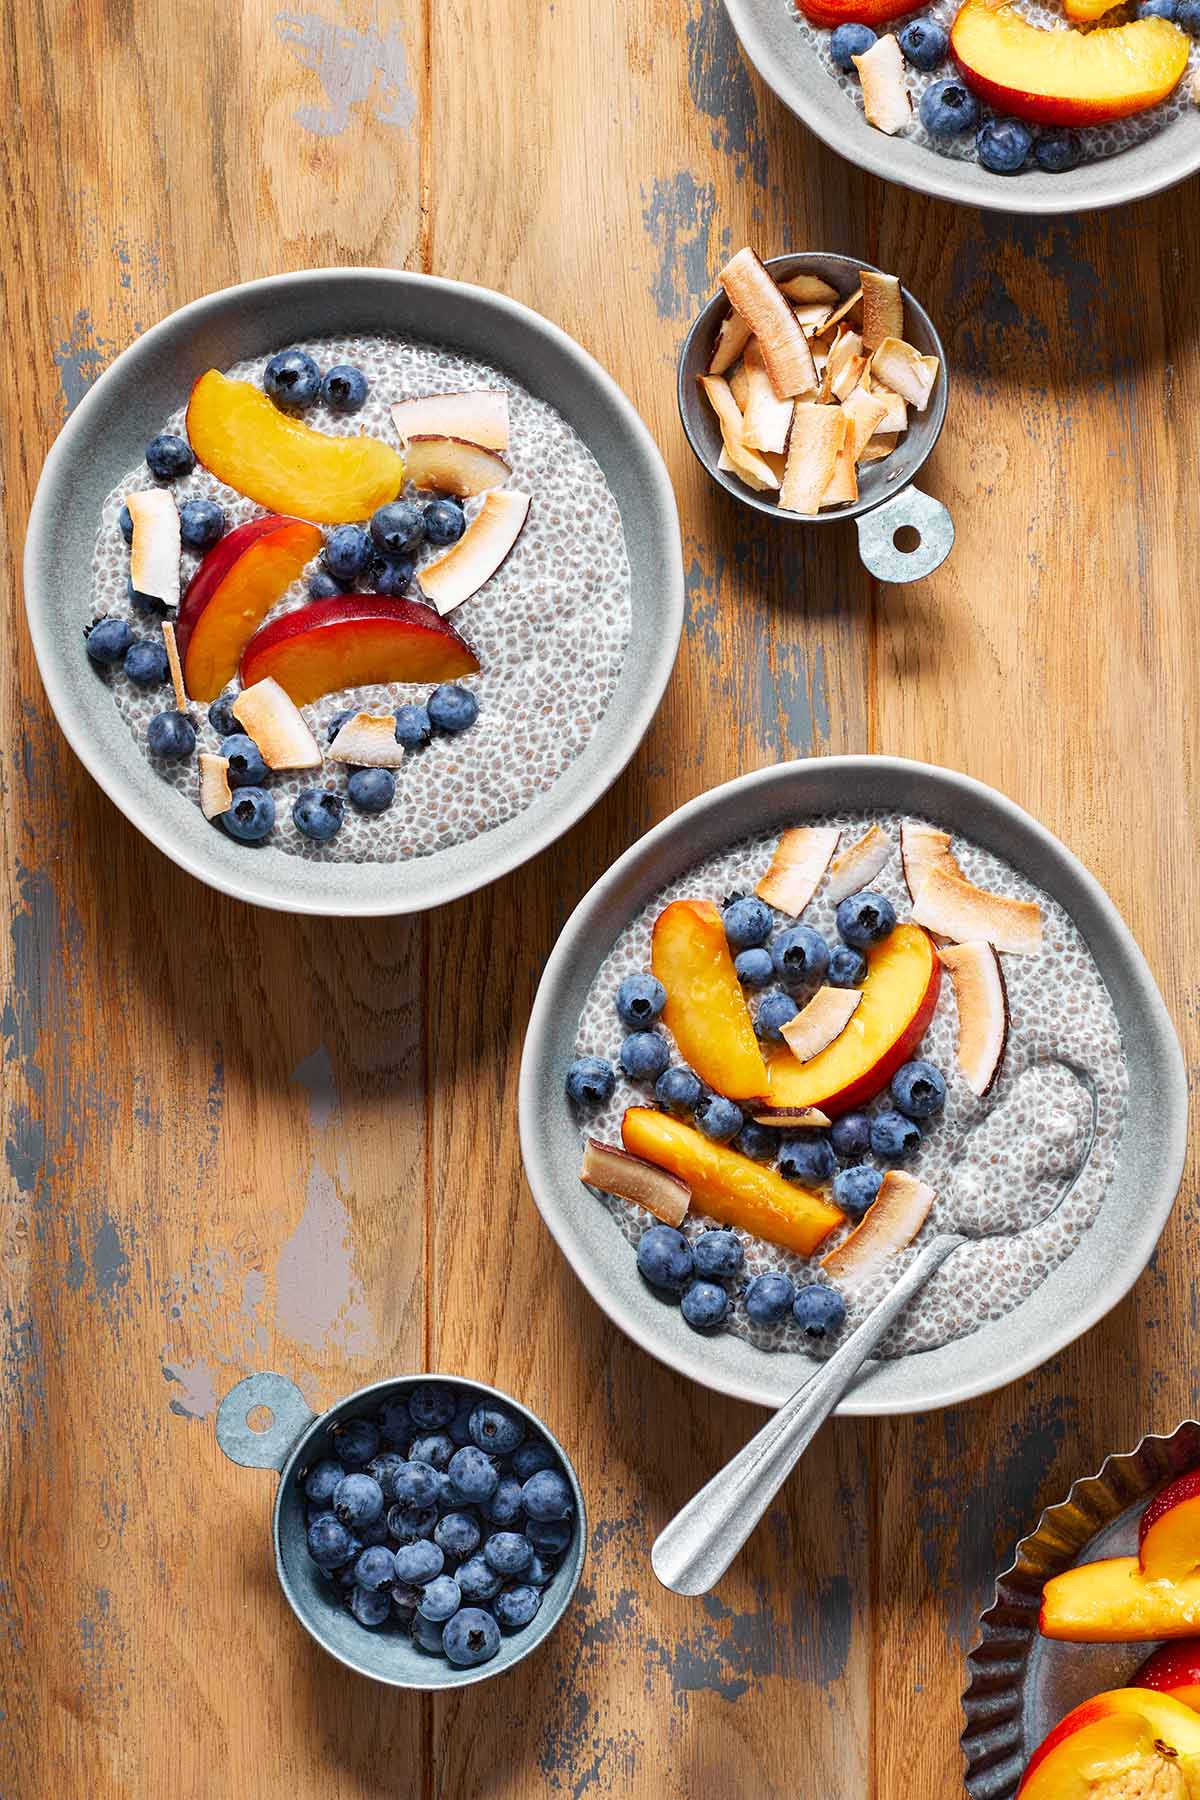
Once set, portion into bowls and serve with fresh fruit and granola.
Frequently asked questions
It normally takes about 3-4 hours for chia pudding to fully thicken. I usually make it in the evening and let it sit overnight in the fridge.
This might be because you used too much liquid or haven’t let it sit long enough in the fridge. You can always add more chia seeds to thicken it up.
Absolutely! While this is an oat milk chia pudding recipe, you can definitely use another type of milk. Dairy-free options include almond milk or cashew milk, or you can use cow’s milk if you don’t need a dairy-free pudding.
You can enjoy chia pudding on its own, or you can top it with fresh fruit and granola, like this maple granola or honey almond granola. Some air fryer pears on top would also be delicious!
Key recipe tips
- If you don’t like the texture of chia seeds, try grinding them up before mixing them with the milk or you can blend the chia seeds with the milk.
- For a thicker pudding, add another tablespoon of chia seeds. For a thinner pudding, use fewer chia seeds or add more milk.
- To make sure the chia seeds are evenly mixed into the pudding, make sure the ingredients are fully whisked together.
- Feel free to add more sweetener. You can also add some vanilla extract for additional flavour, or whisk in some ground cinnamon.
Storage instructions
Oat milk chia pudding should be stored in an airtight container in the fridge, where it will last for 5-7 days.
More chia seed recipes
- Chia Seed Jam (Triple Berry)
- Blueberry Chia Jam with Pomegranate
- Healthy Cranberry Sauce with Chia Seeds
If you make this recipe, I’d love to hear what you think in the comments below!
HUNGRY FOR MORE? Follow Crumb Top Baking on Instagram, Pinterest and Facebook!
Print
Oat Milk Chia Pudding
- Prep Time: 3 minutes
- Resting Time: 4 hours
- Total Time: 4 hours 3 minutes
- Yield: 4 servings
- Category: Breakfast
- Method: Whisk
- Cuisine: American
- Diet: Vegan
Description
Dairy-free, vegan and refined sugar-free, this Oat Milk Chia Pudding is a healthy, make ahead breakfast with just 3 ingredients and 3 minutes prep time!
Ingredients
- 2 cups unsweetened oat milk
- 7 tablespoons chia seeds
- 2 tablespoons maple syrup
Instructions
- Add the oat milk, chia seeds and maple syrup to a large bowl and whisk until the chia seeds are incorporated. (You can also add everything to a large mason jar, cover with the lid and shake well).
- Cover the bowl and place in the fridge for an hour.
- Remove and whisk together again. (This will get any chia seeds that sunk to the bottom of the bowl or clumped together).
- Place in the fridge for another 3 hours, or overnight. (The mixture should look thickened and set).
- Portion into bowls and serve with fruit and granola.
Notes
- If you don’t like the texture of chia seeds, try grinding them up before mixing them with the milk or you can blend the chia seeds with the milk.
- For a thicker pudding, add another tablespoon of chia seeds. For a thinner pudding, use fewer chia seeds or add more milk.
- To make sure the chia seeds are evenly mixed into the pudding, make sure the ingredients are fully whisked together.
- Feel free to add more sweetener. You can also add some vanilla extract for additional flavour, or whisk in some ground cinnamon.
- If you use sweetened oat milk, you may want to reduce the amount of maple syrup you add to the recipe.
- Be sure to check out the other sections above the recipe card for more detailed advice and suggestions for making this recipe.

Leave a Reply